WebdriverAgent Signing with Xcode for iOS and tvOS
The Appium device farm now allows you to manage real iOS and tvOS devices on non-Mac systems, including Raspberry Pi. To optimize its functionality, you need to re-sign the WebDriver agent with your provisioning profile and upload it to the device farm. The device farm will handle all the internal configuration. Below are the steps needed to sign the WebDriver agent for both iOS and tvOS platforms.
Prerequisite
- A Mac machine with Xcode and Xcode command line tools installed
- A valid Apple account (with or without a developer program subscription)
- The iOS Resigner app for re-signing the WDA IPA, which you can download from iOS Resigner GitHub
Download WebdriverAgent app
The Appium device farm has already built a WDA IPA file for you to download and use for signing. You can obtain the IPA file from the Appium Device Farm GitHub repository. Save the file to your Mac machine.
Creating Provisioning profile
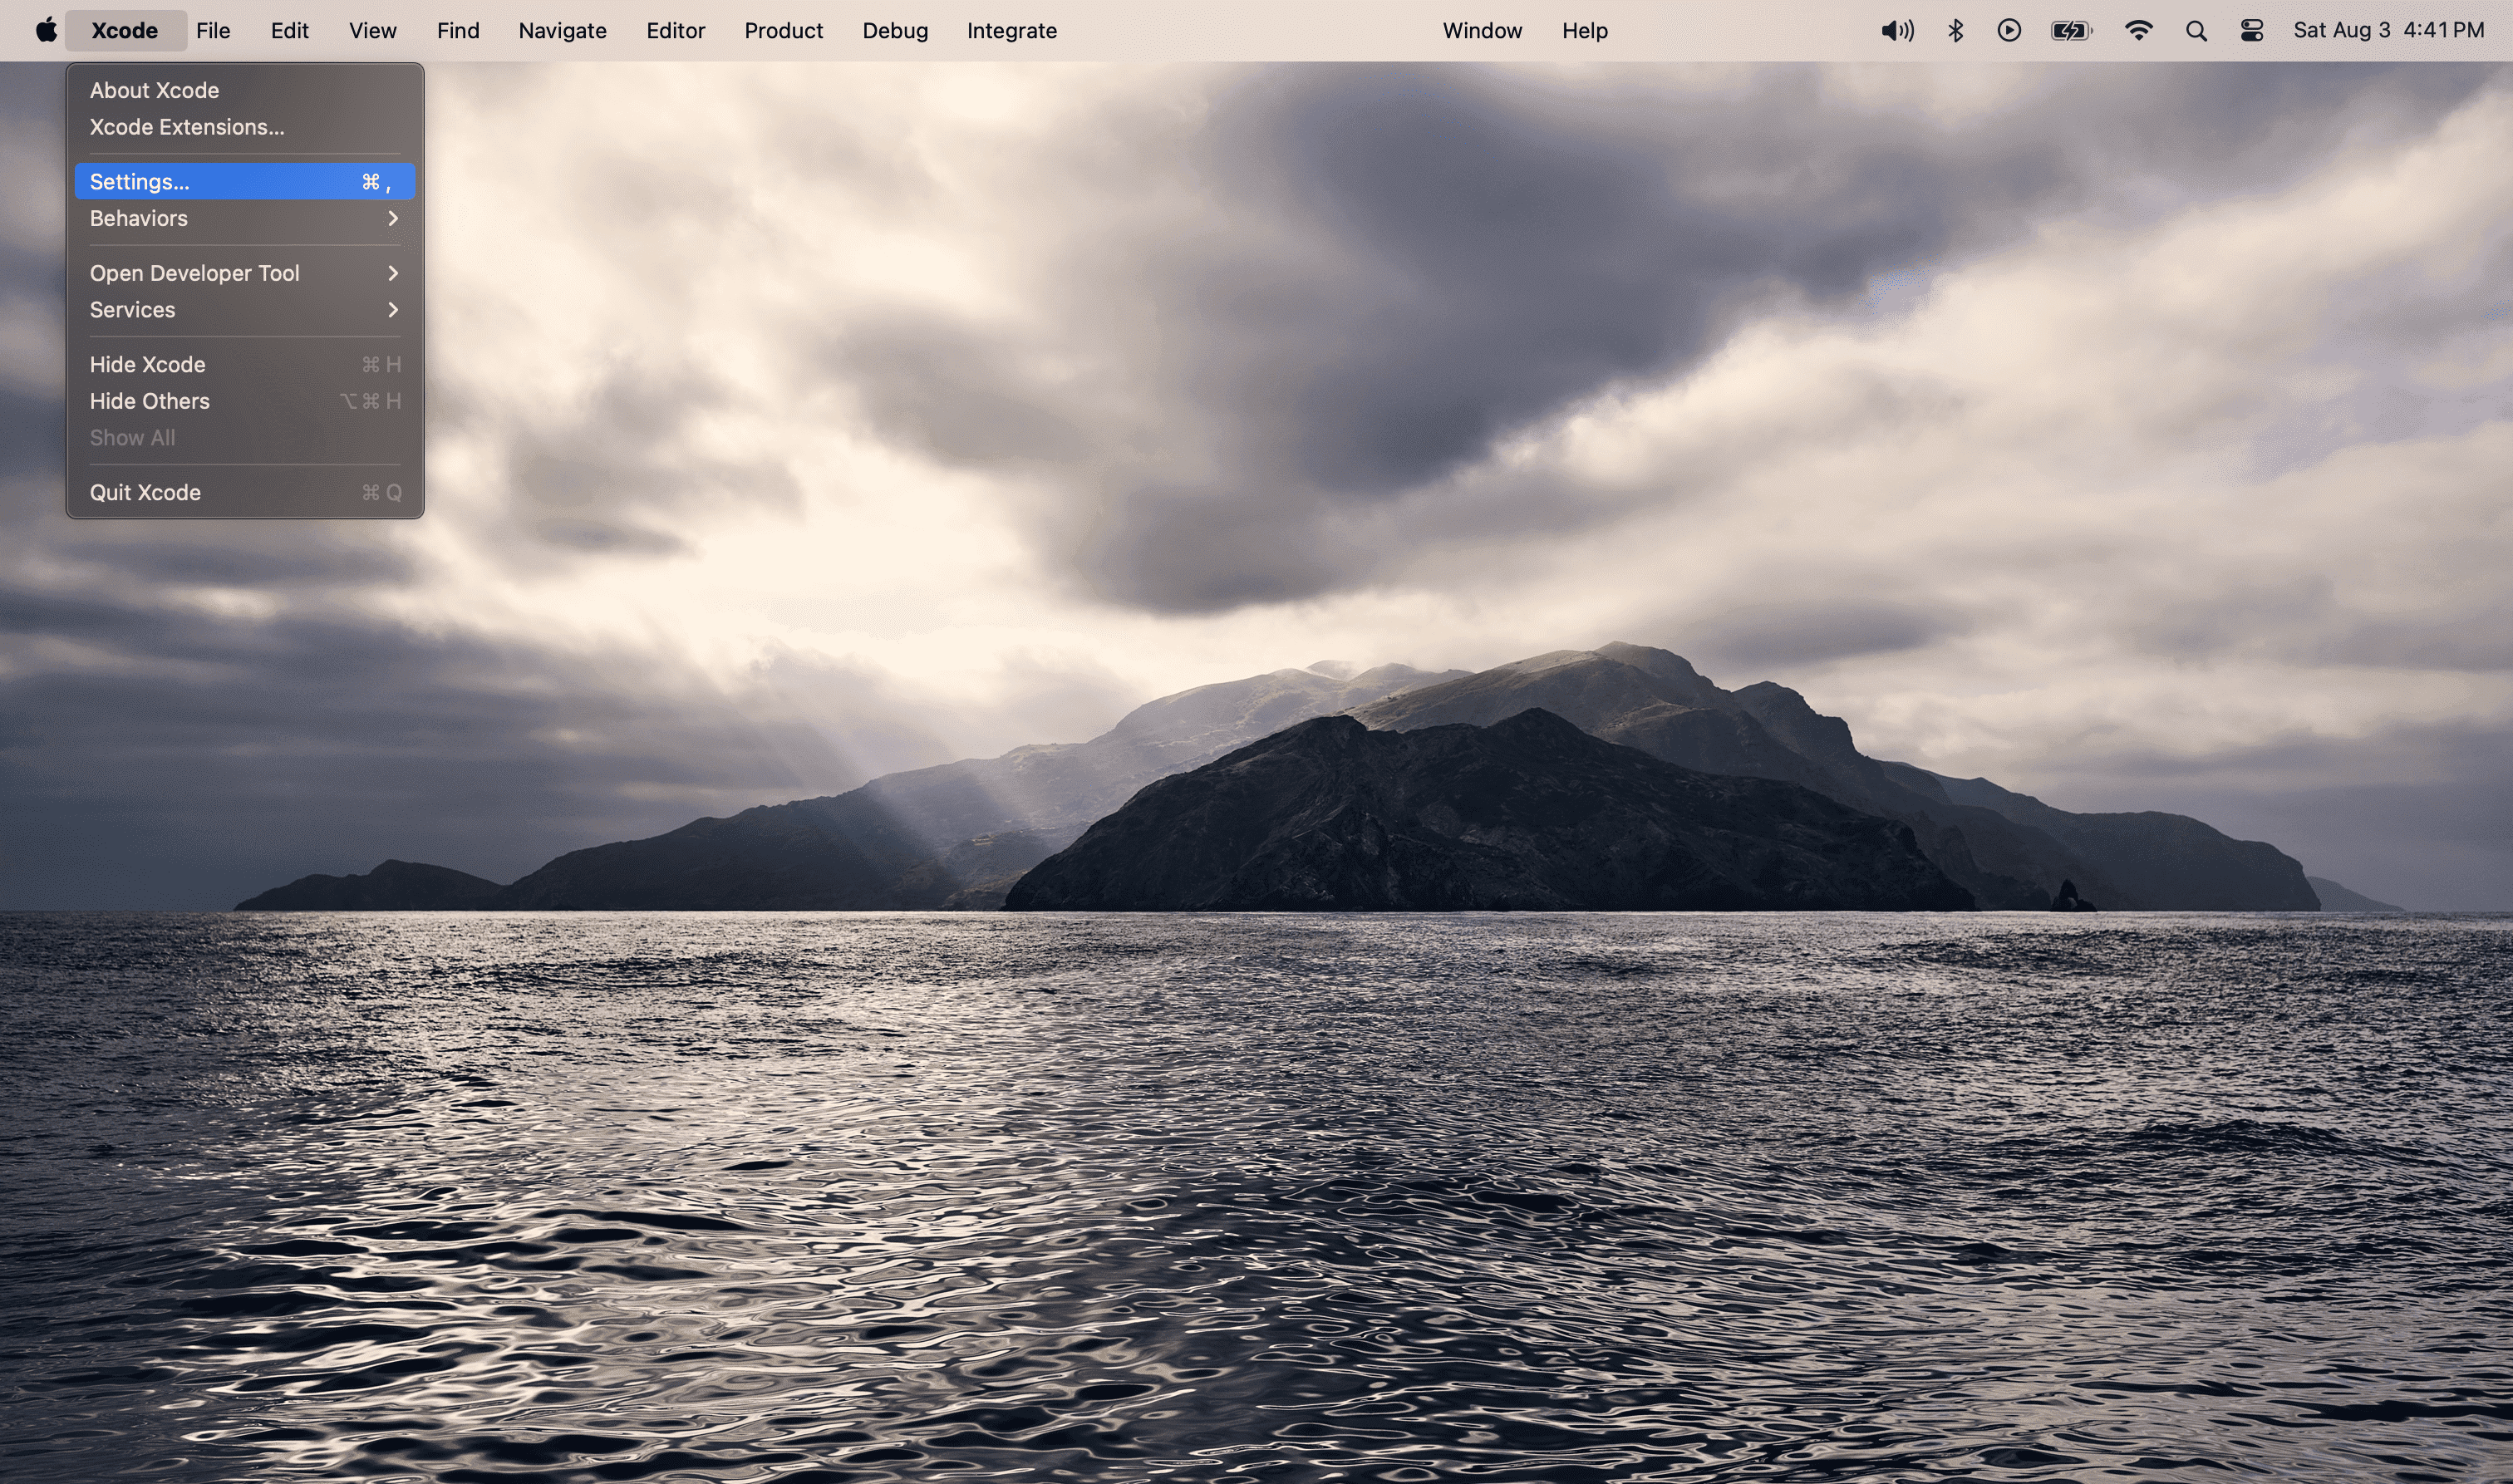
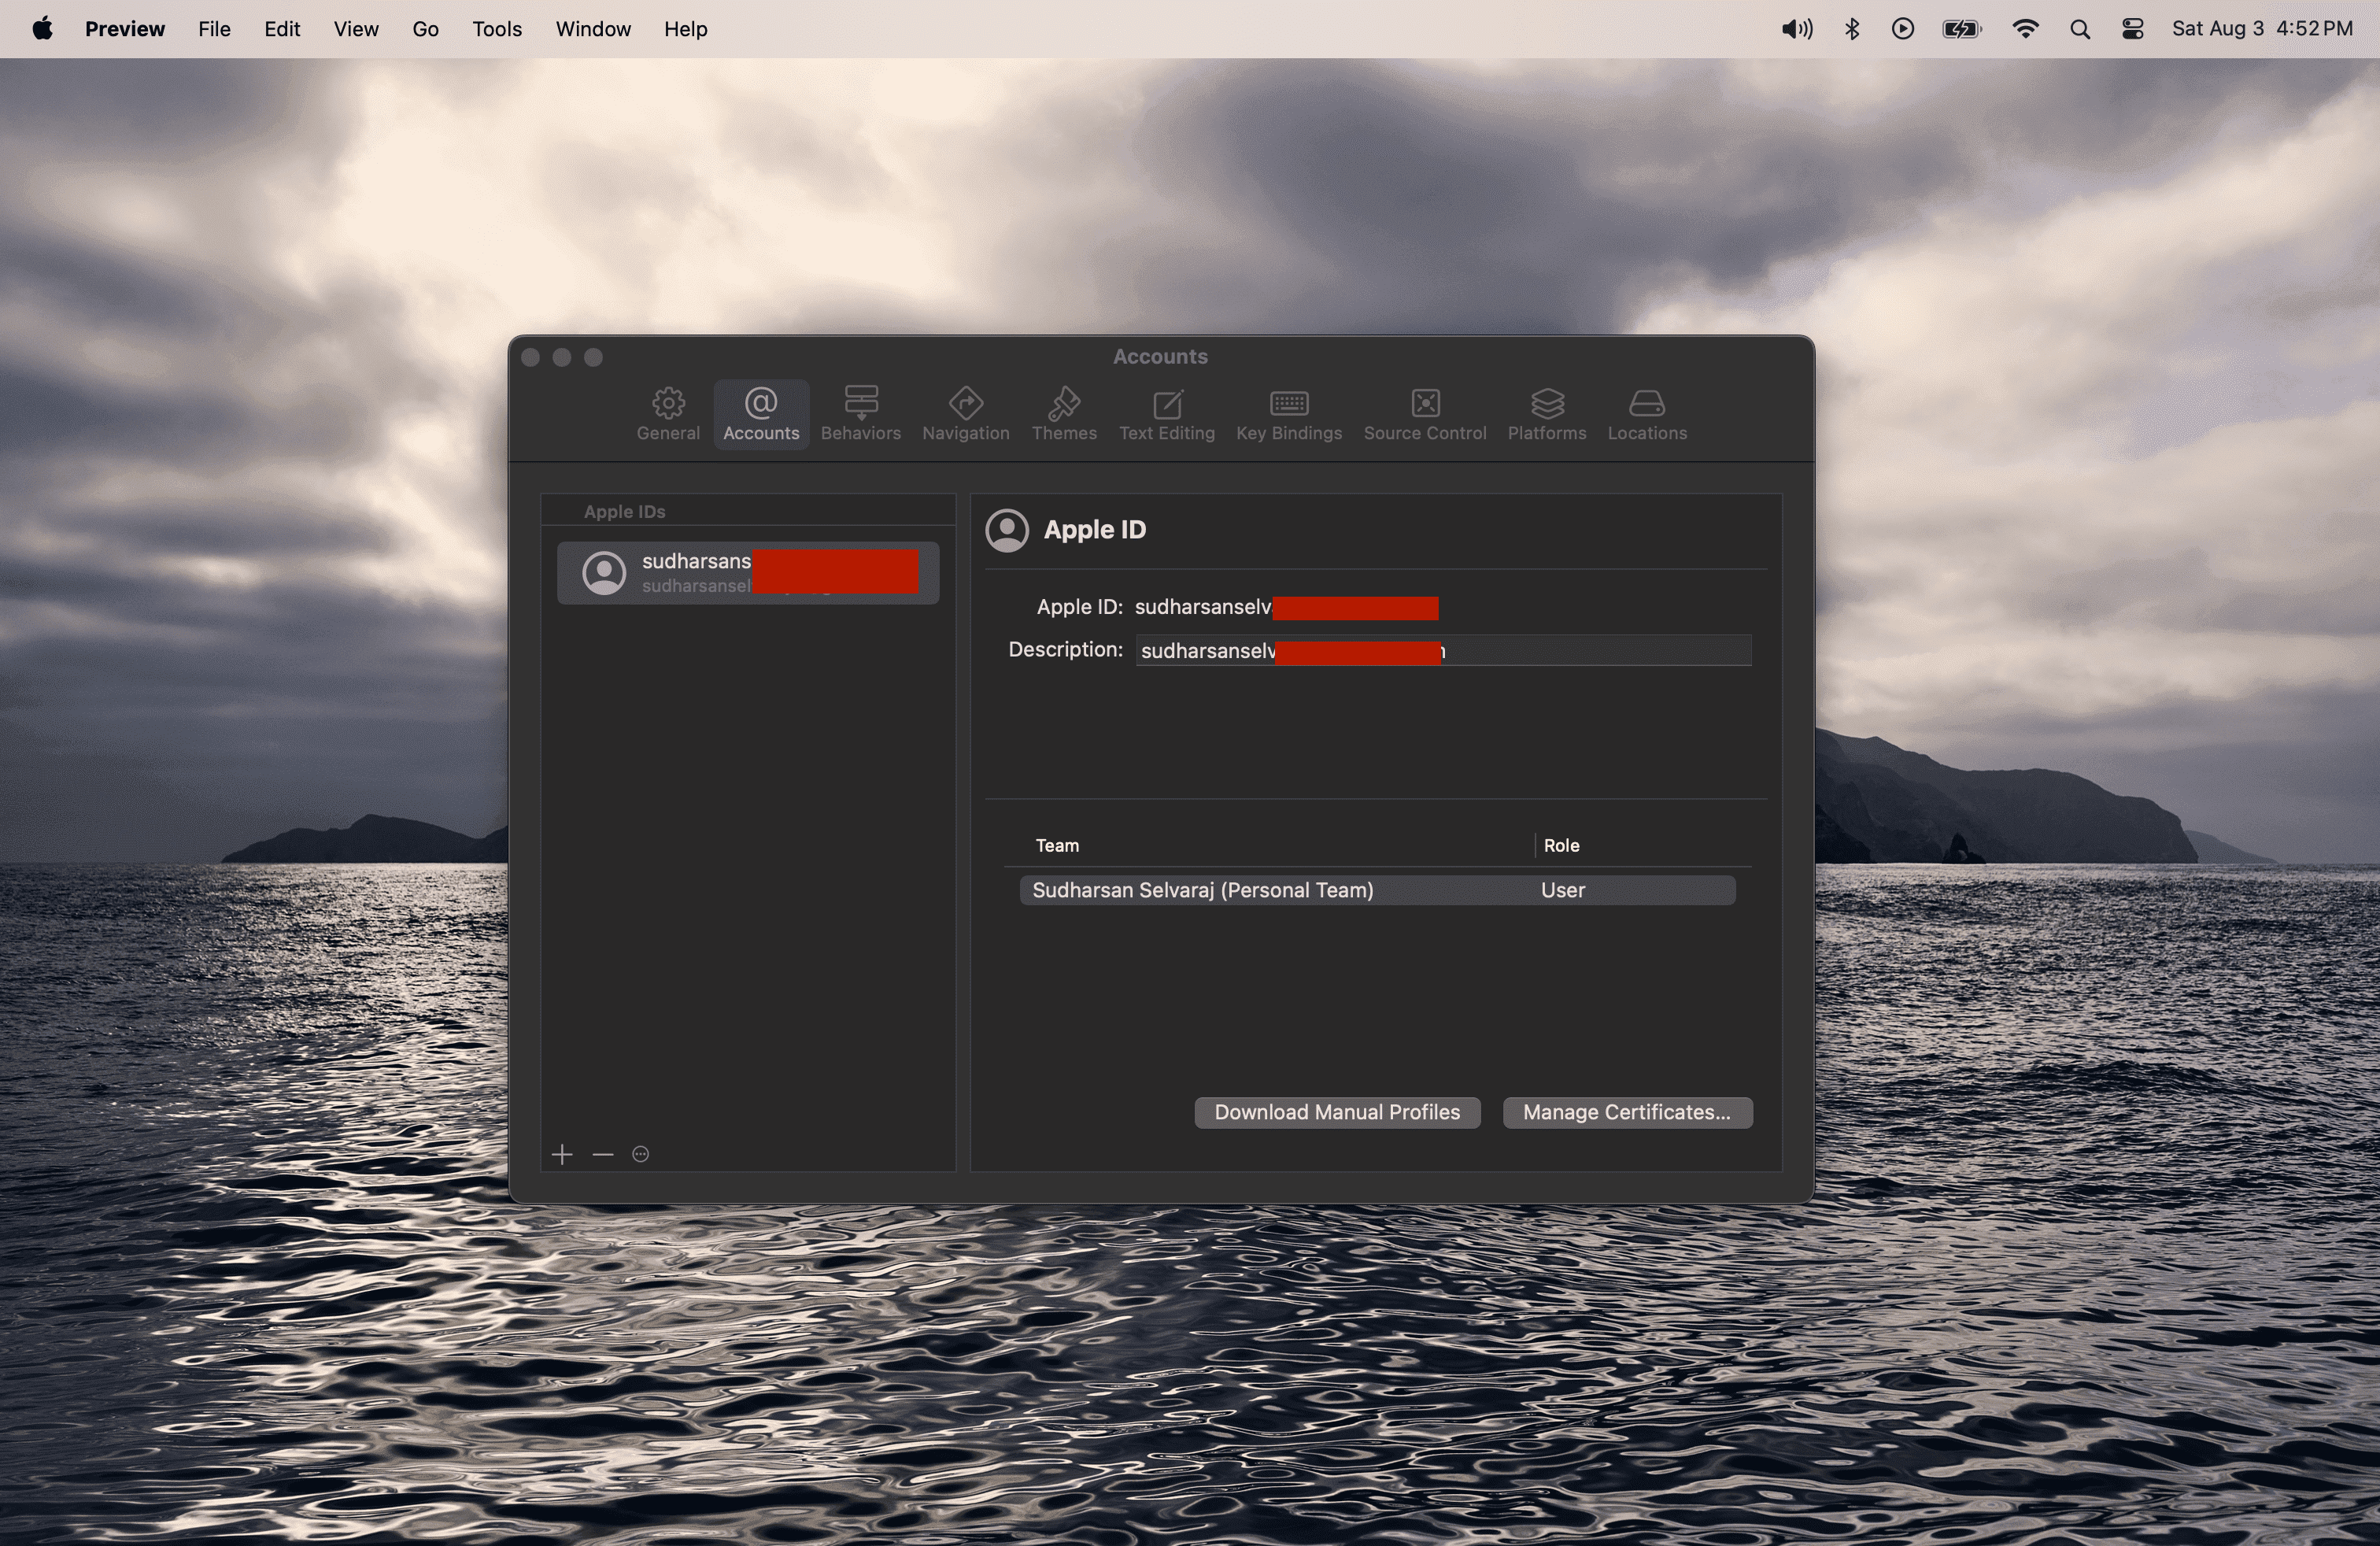
Open Xcode and sign in with your Apple ID.
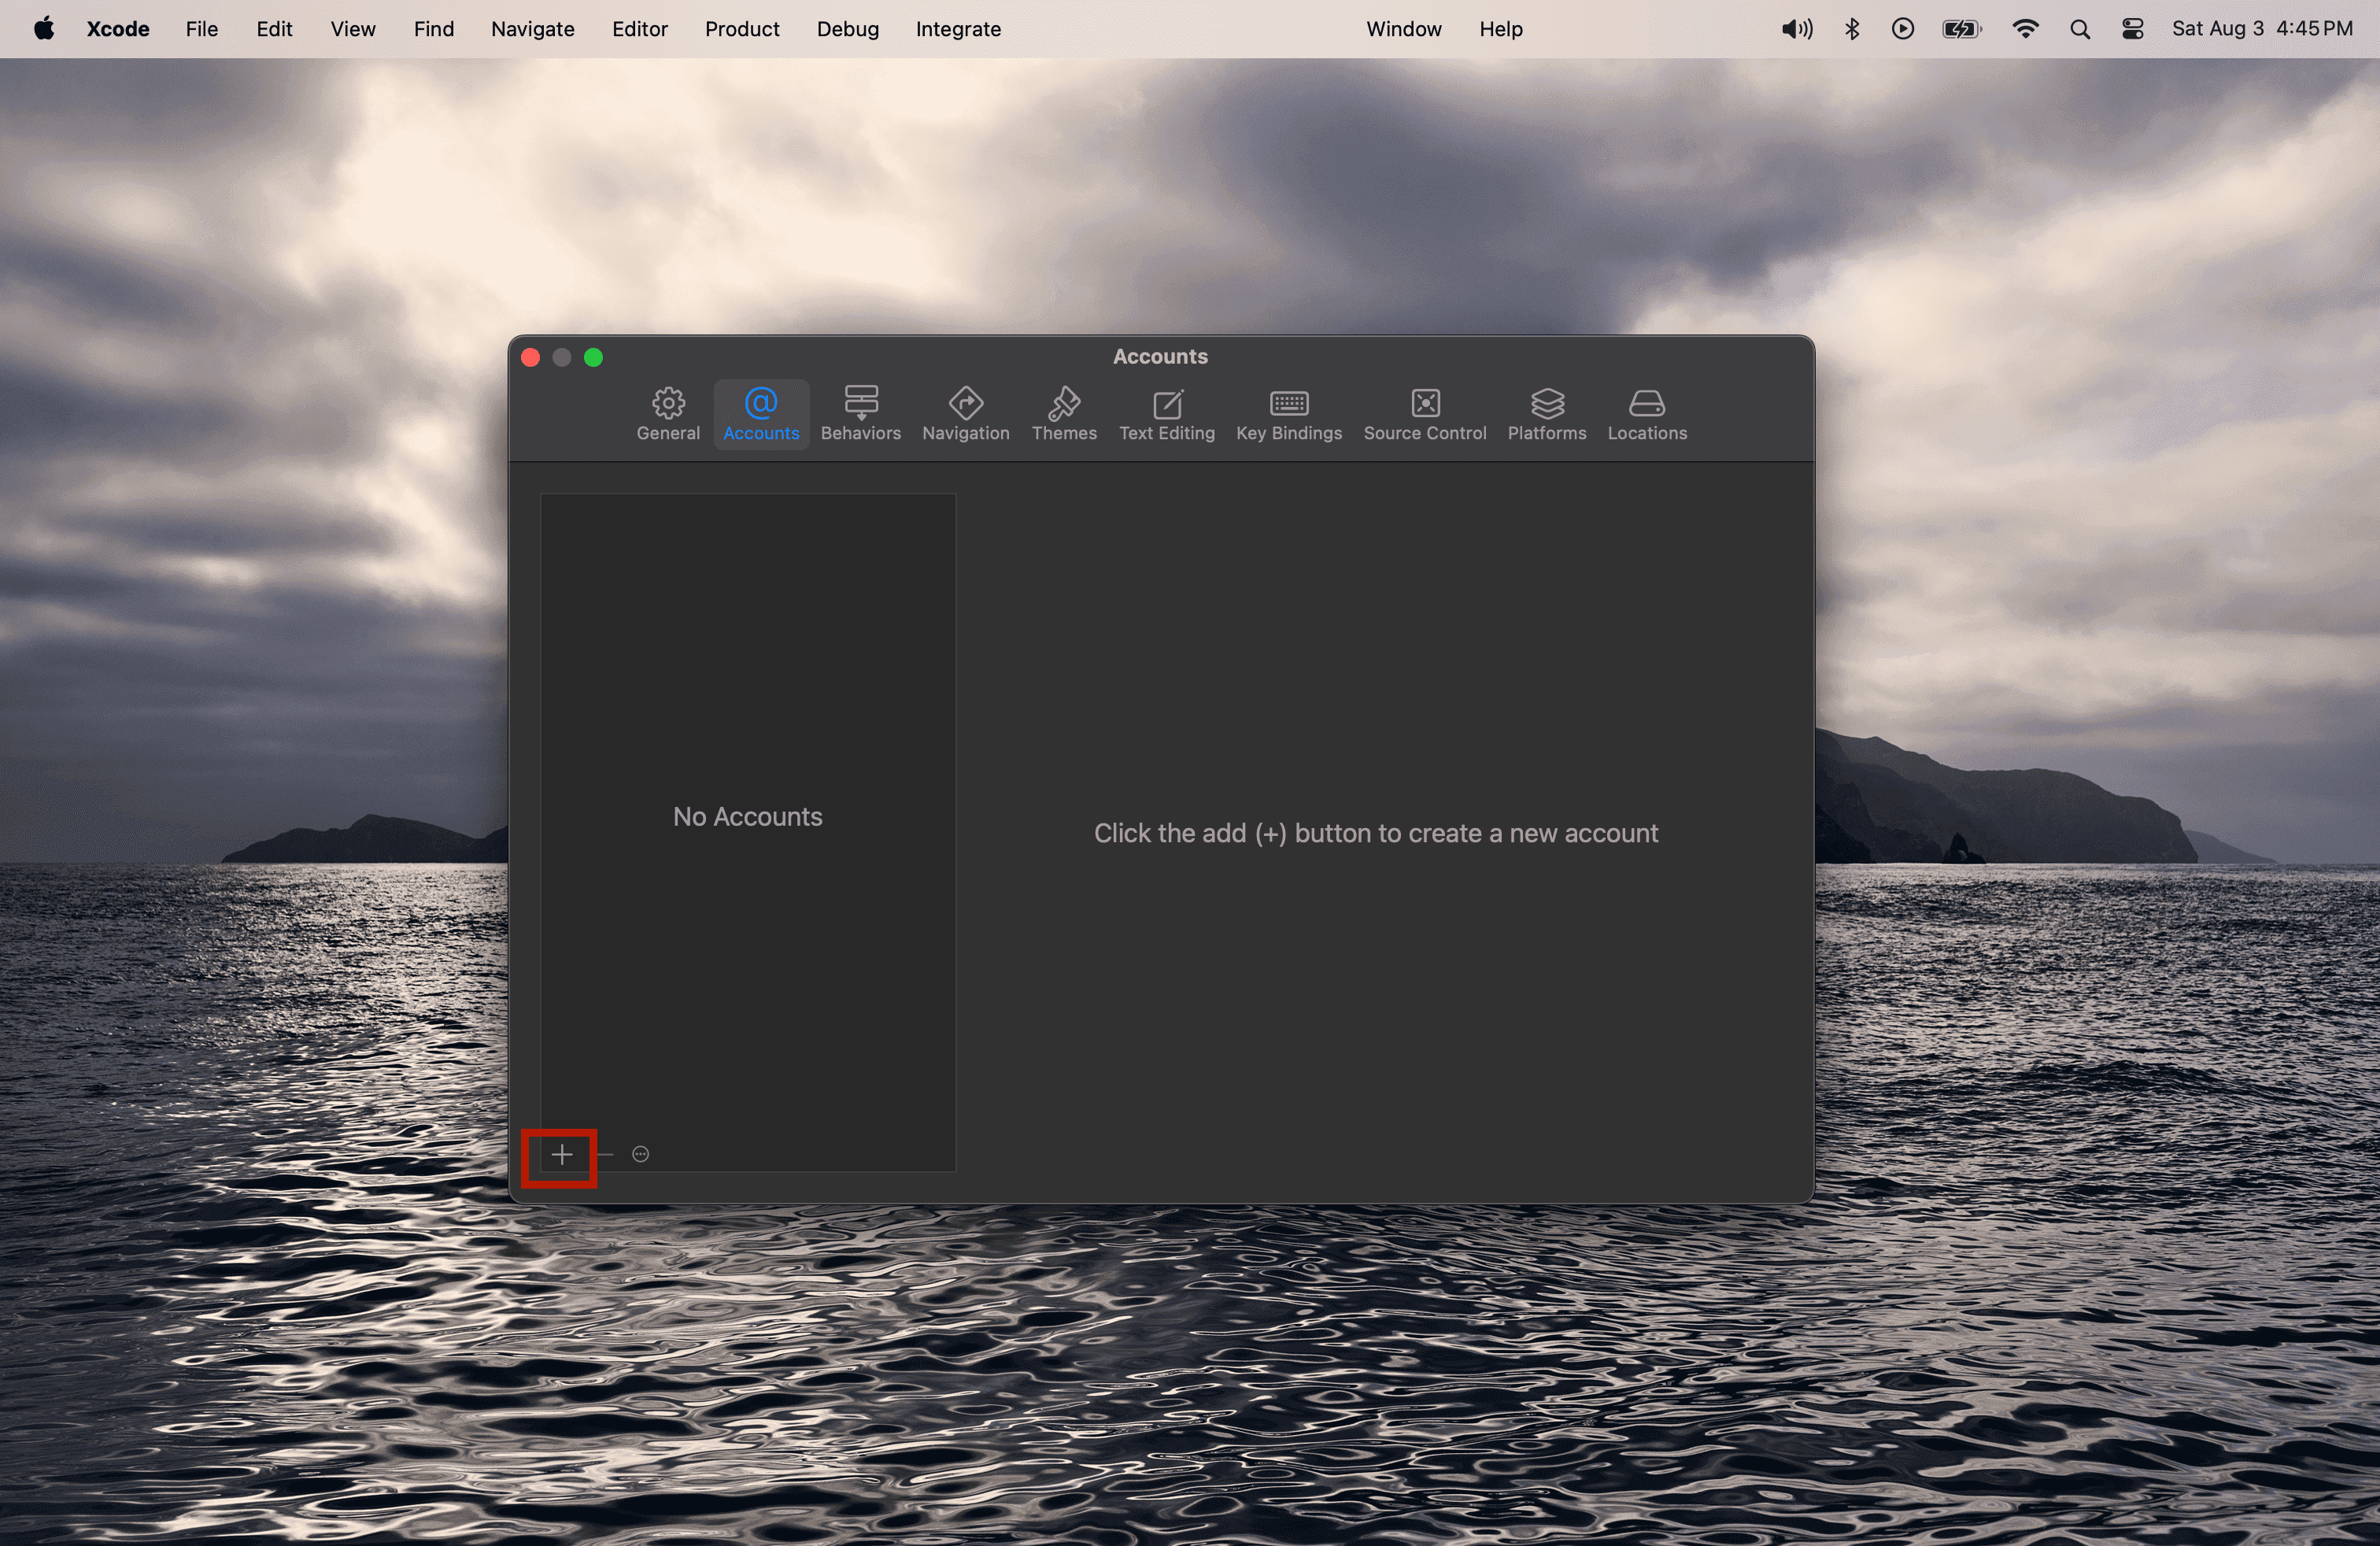
click the + icon to add a new account
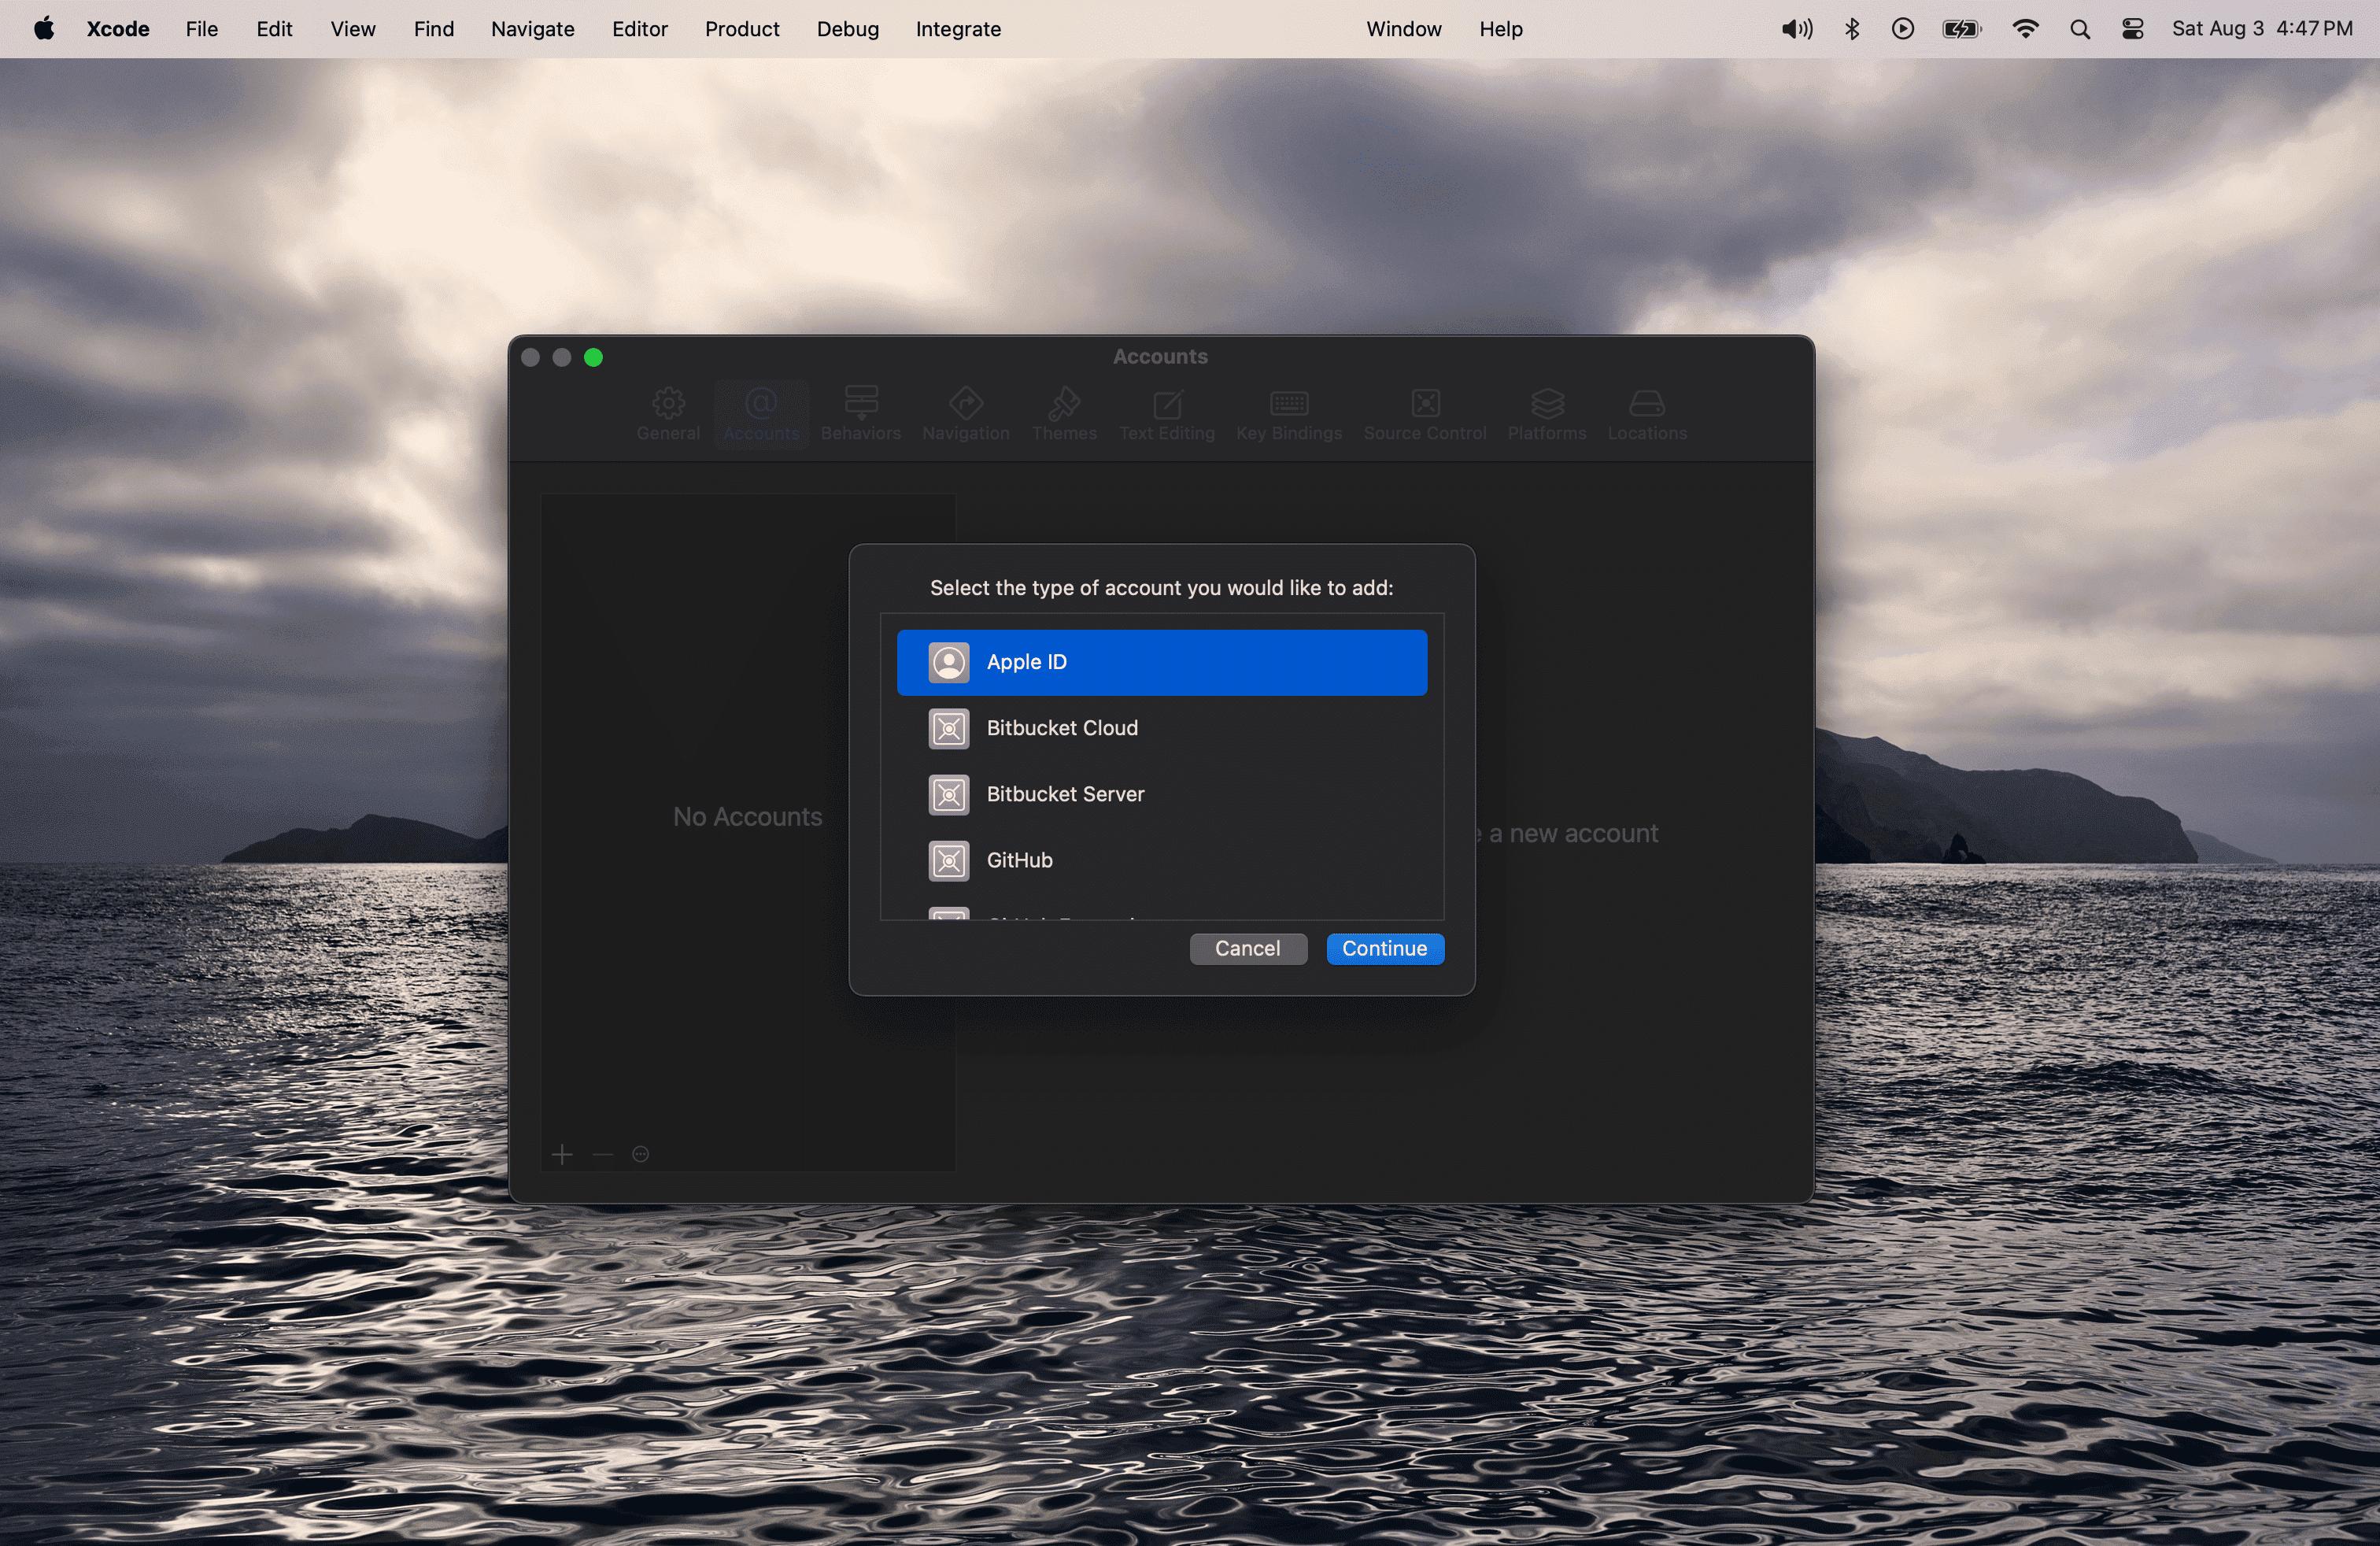
Select Apple ID from the options and click Continue
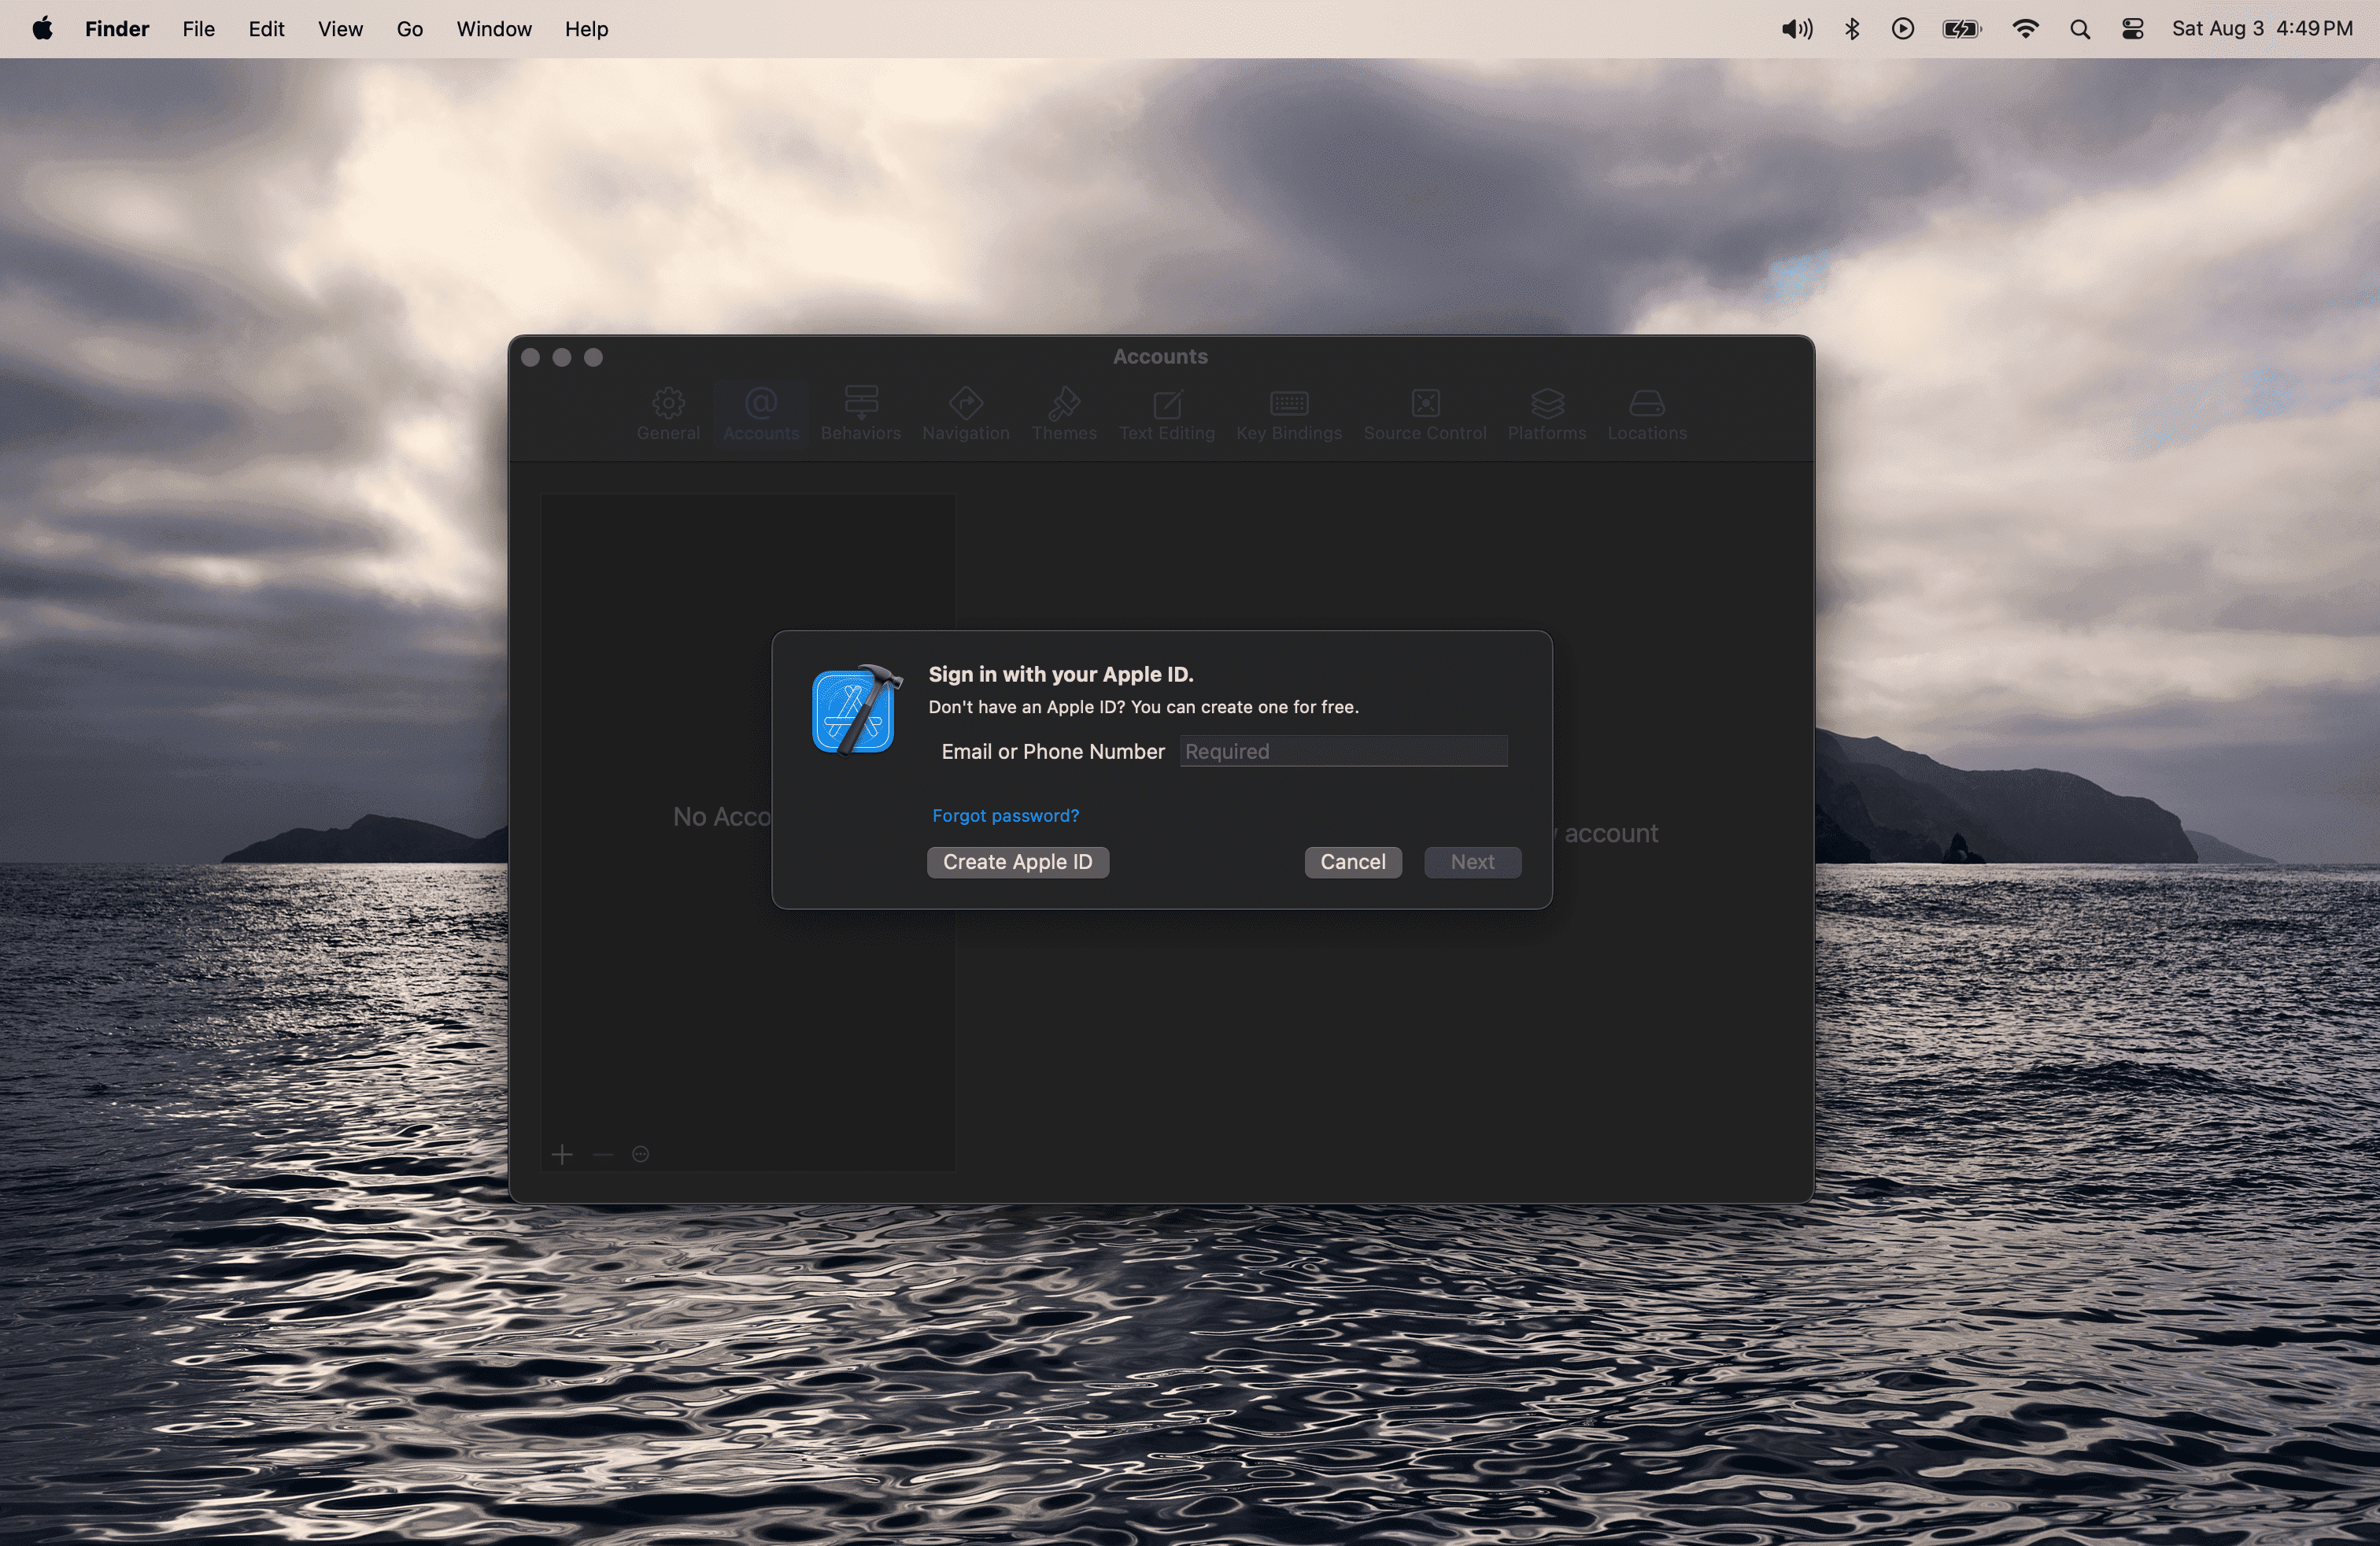
Log in with your existing Apple ID or click Create Apple ID to create a new Apple account.
Once logged in successfully, you should see your account added to the account list.
Now, create the provisioning profile for re-signing the WDA. Open Xcode > File > New > Project.
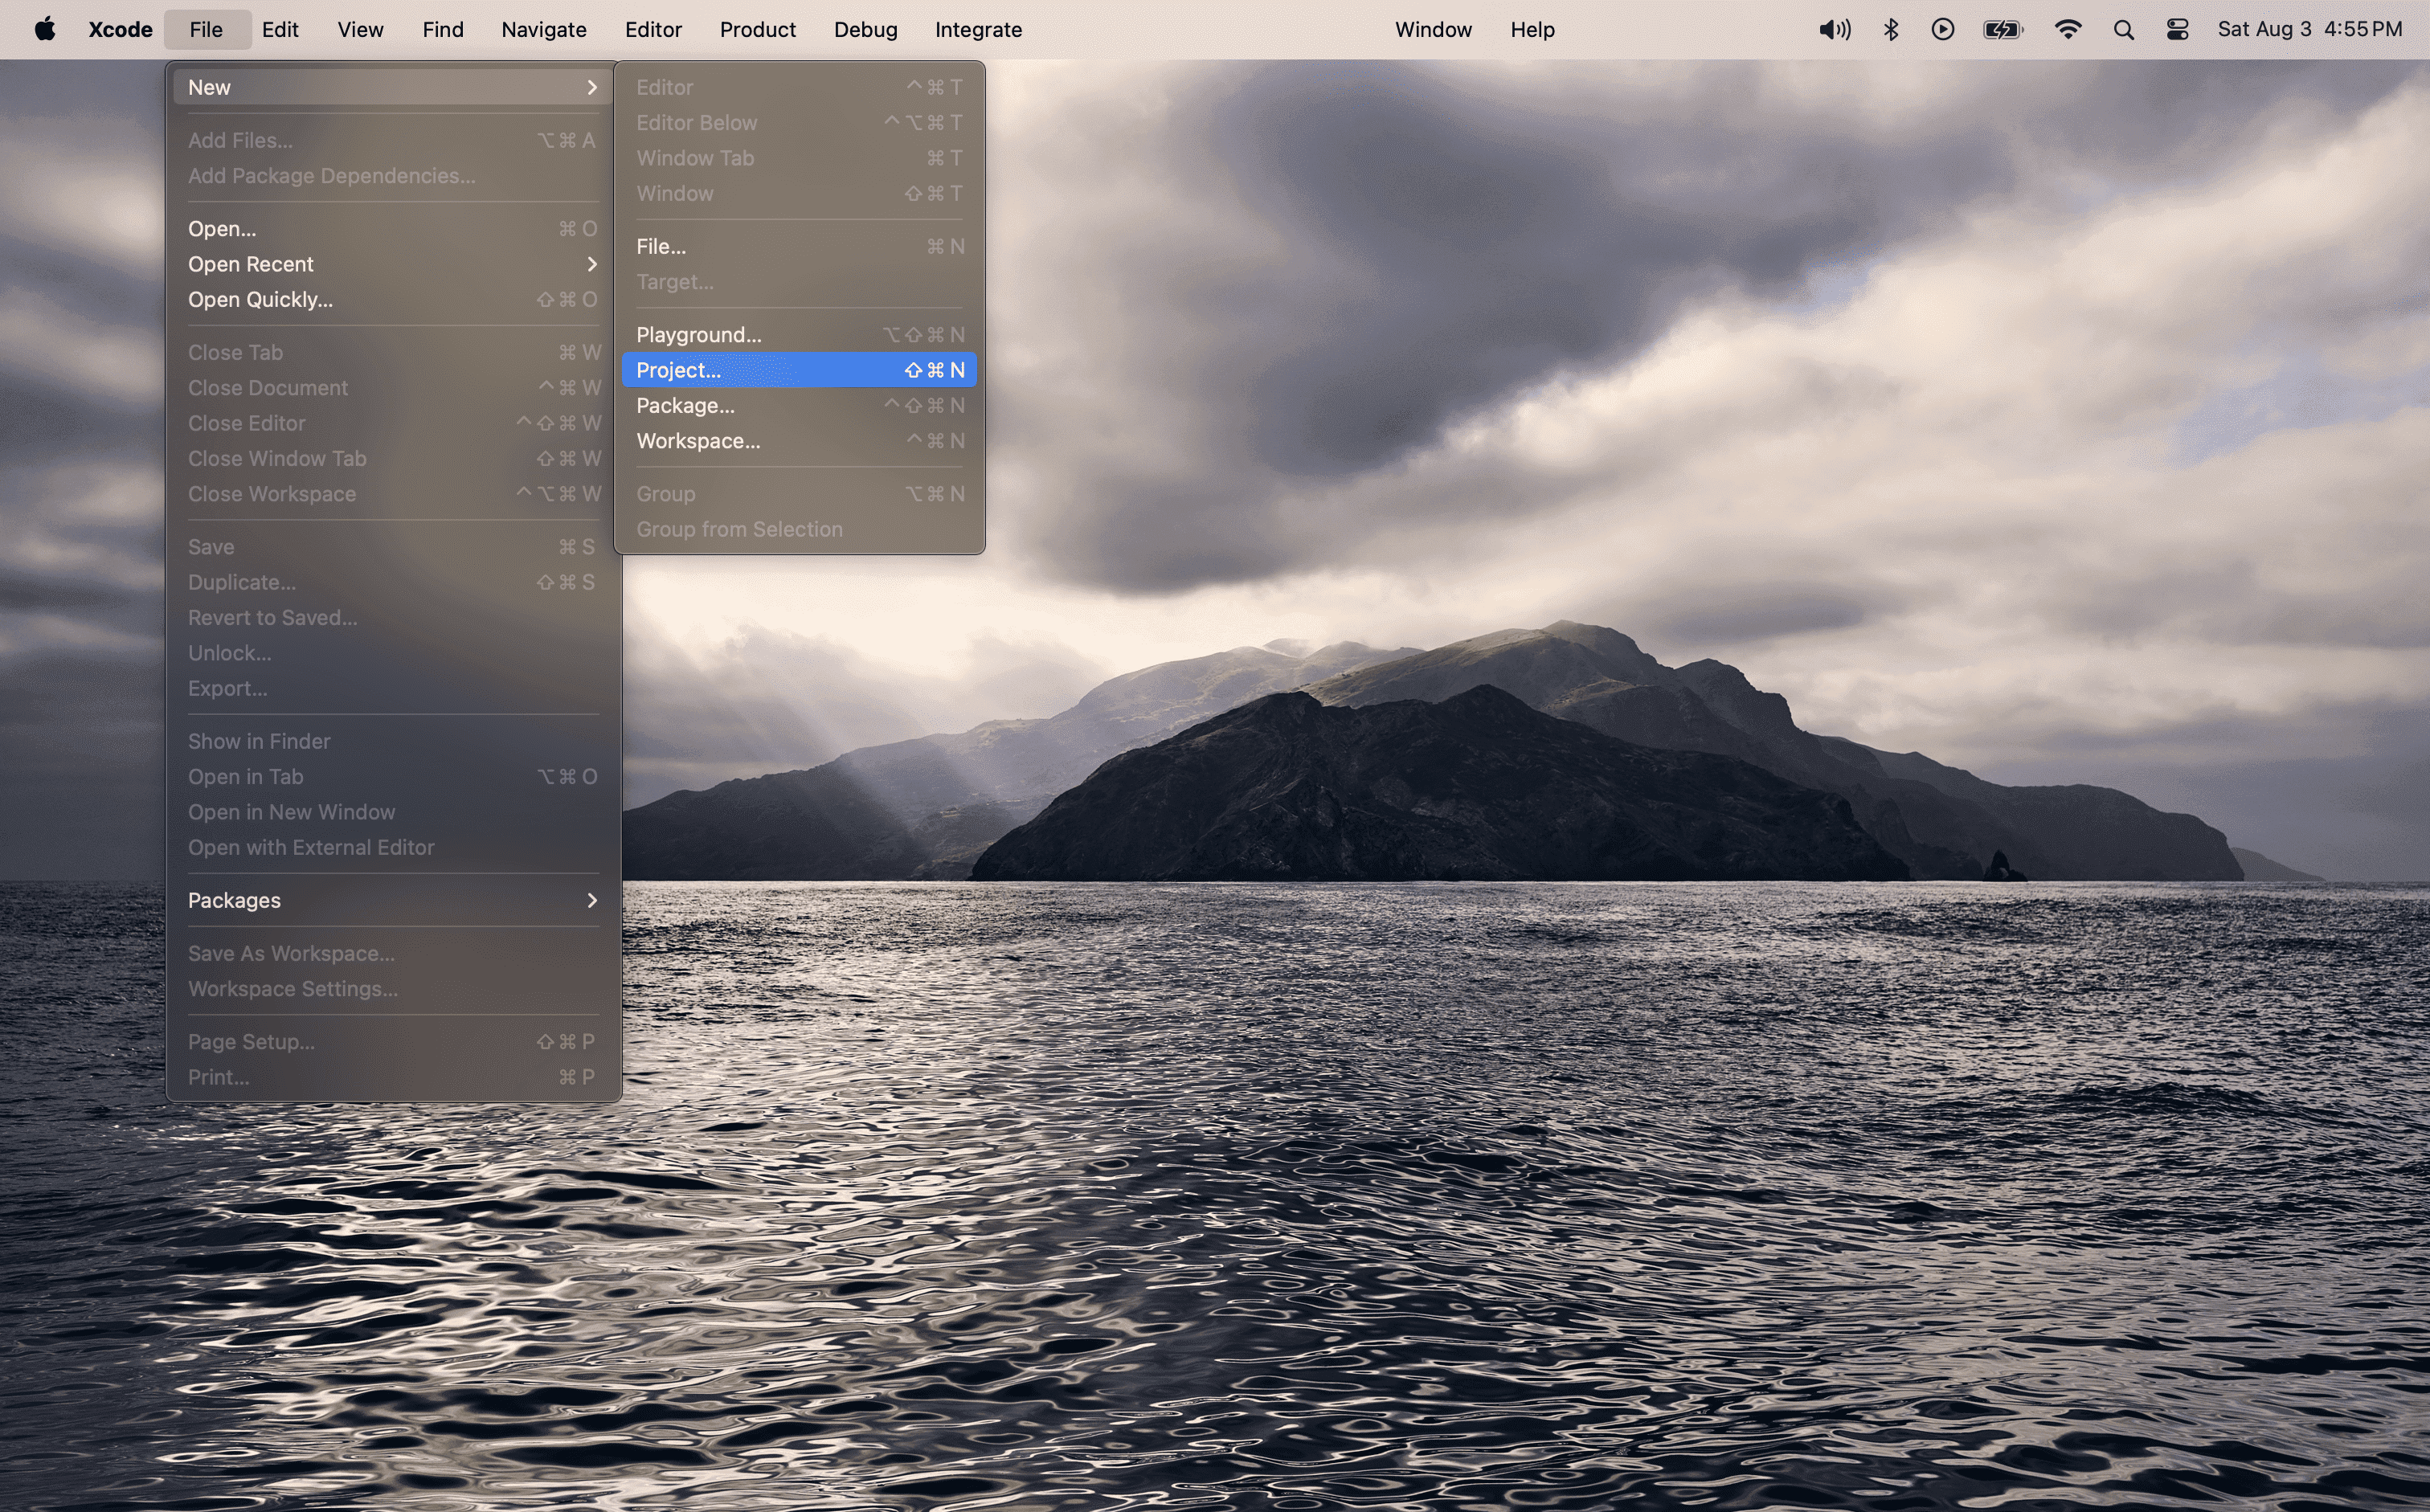
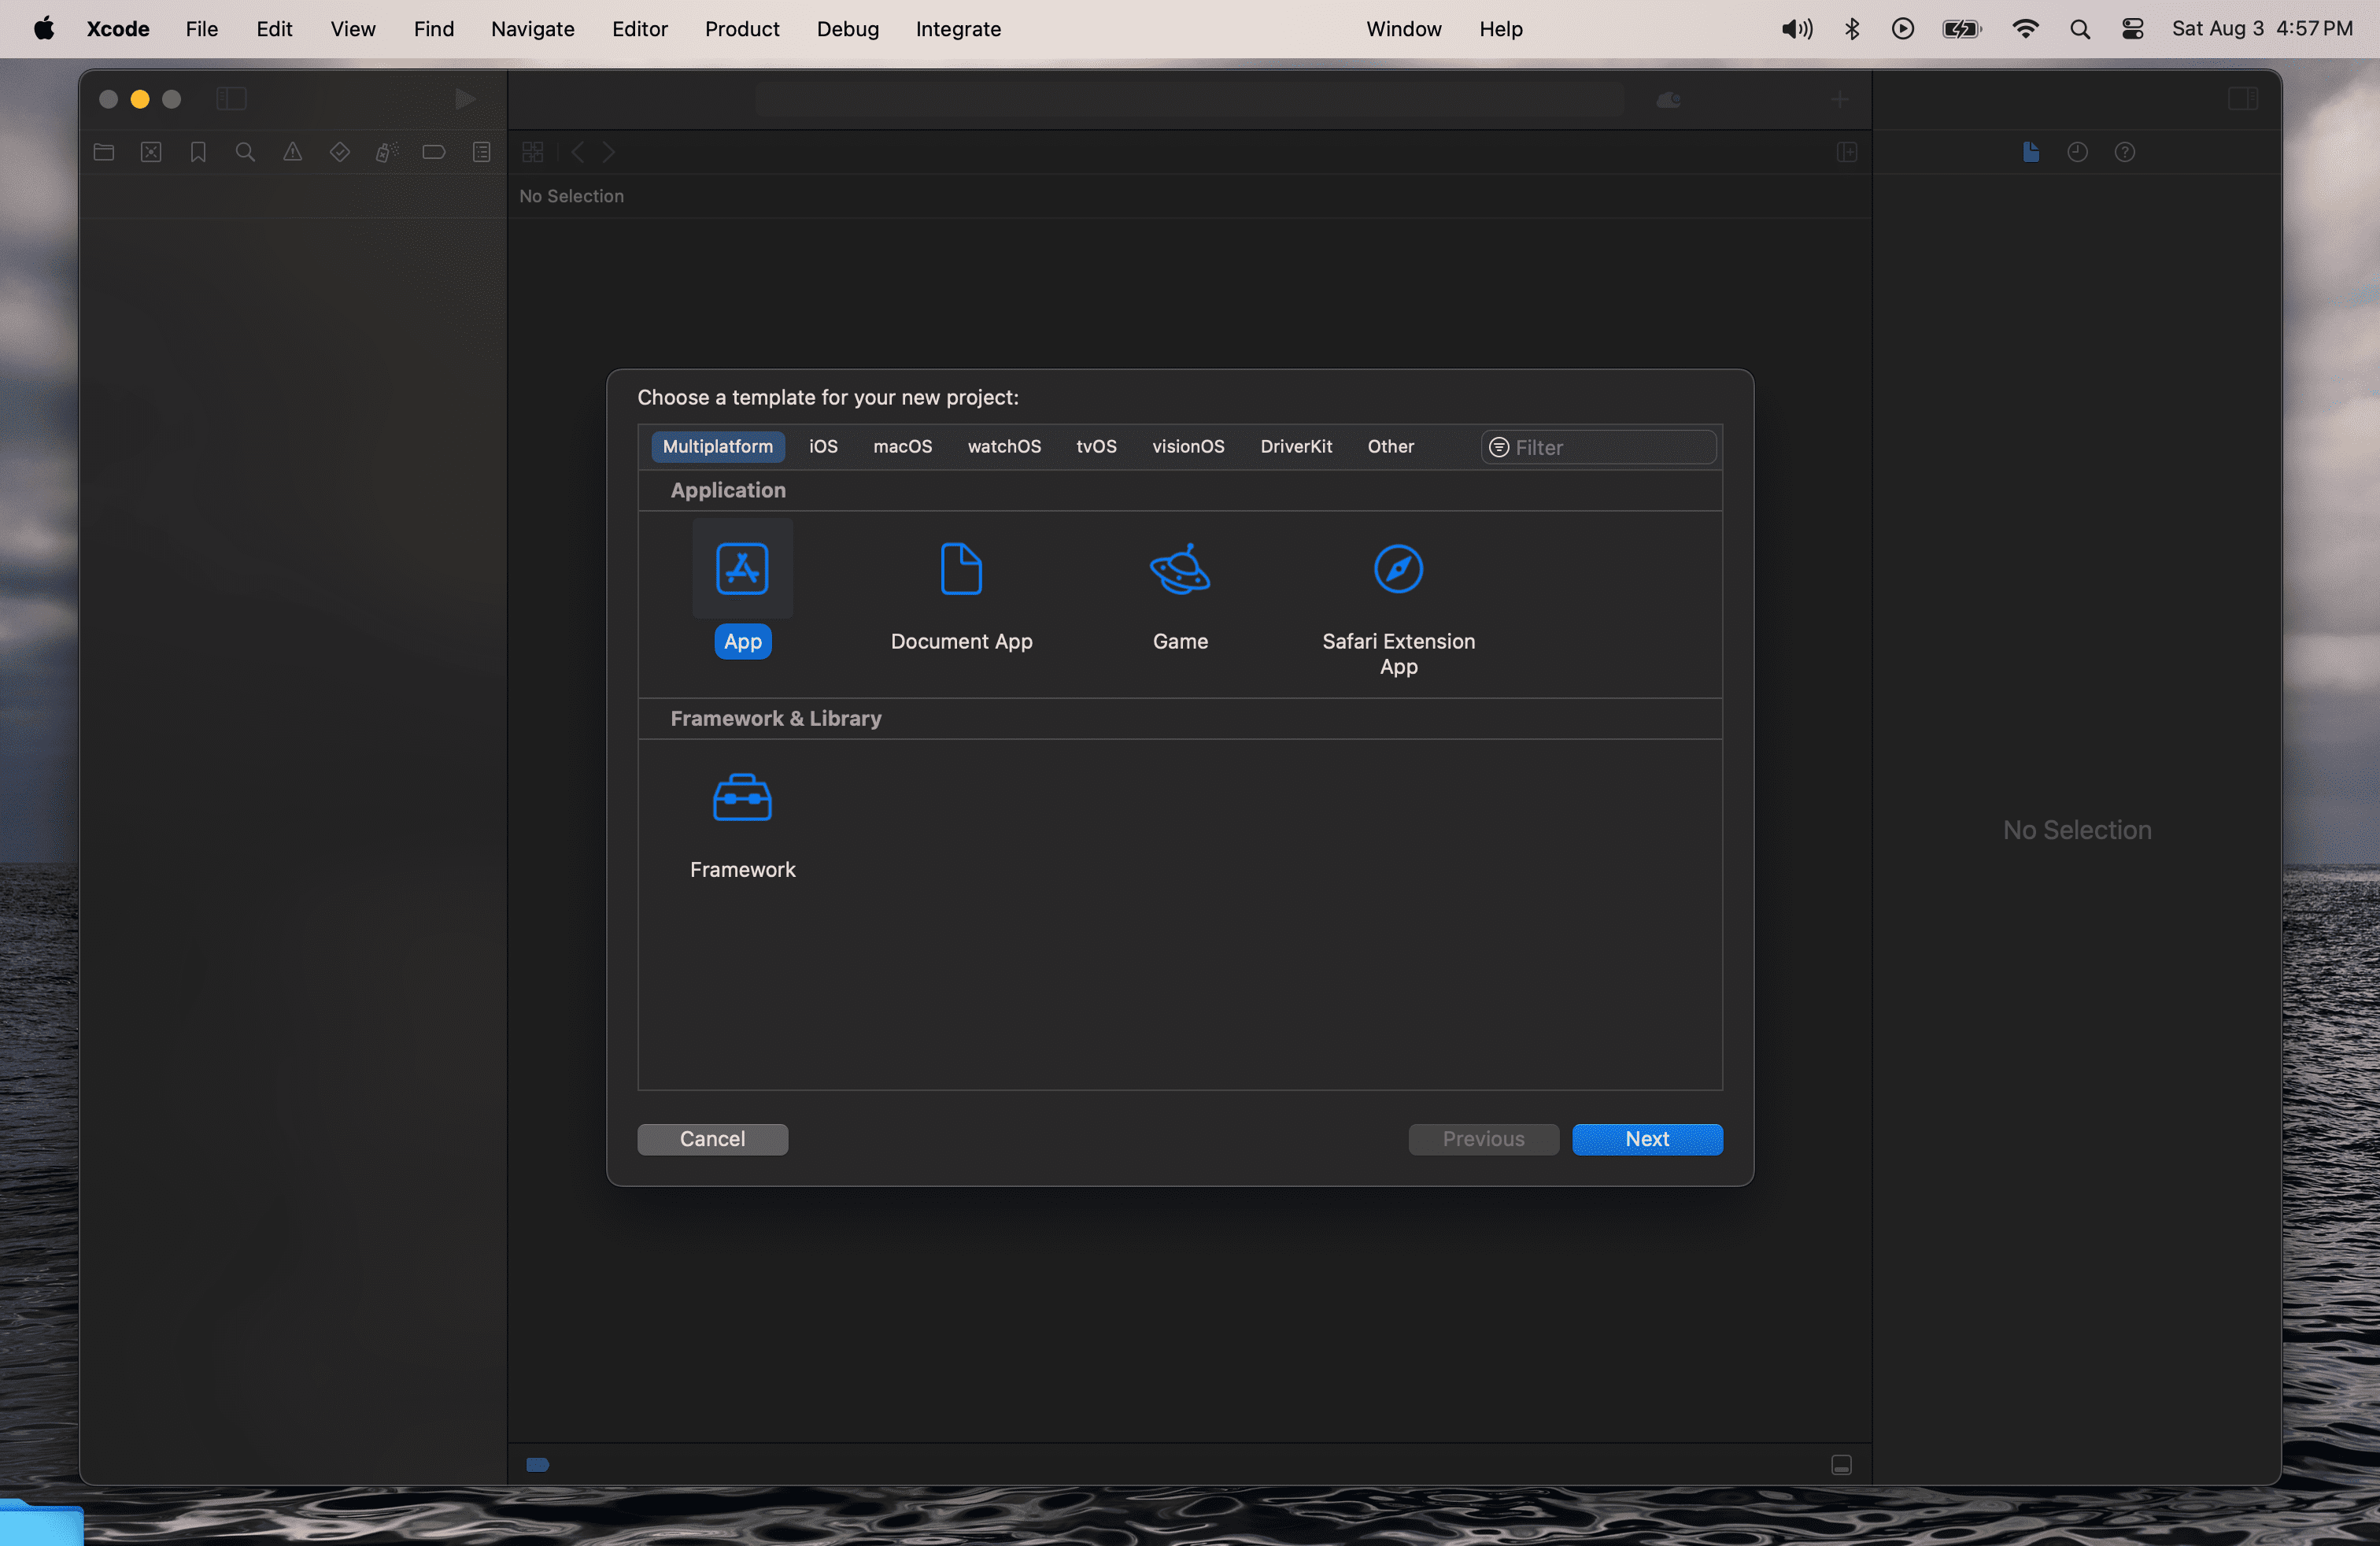
Select any app type from the list. Choosing App is recommended for simplicity.
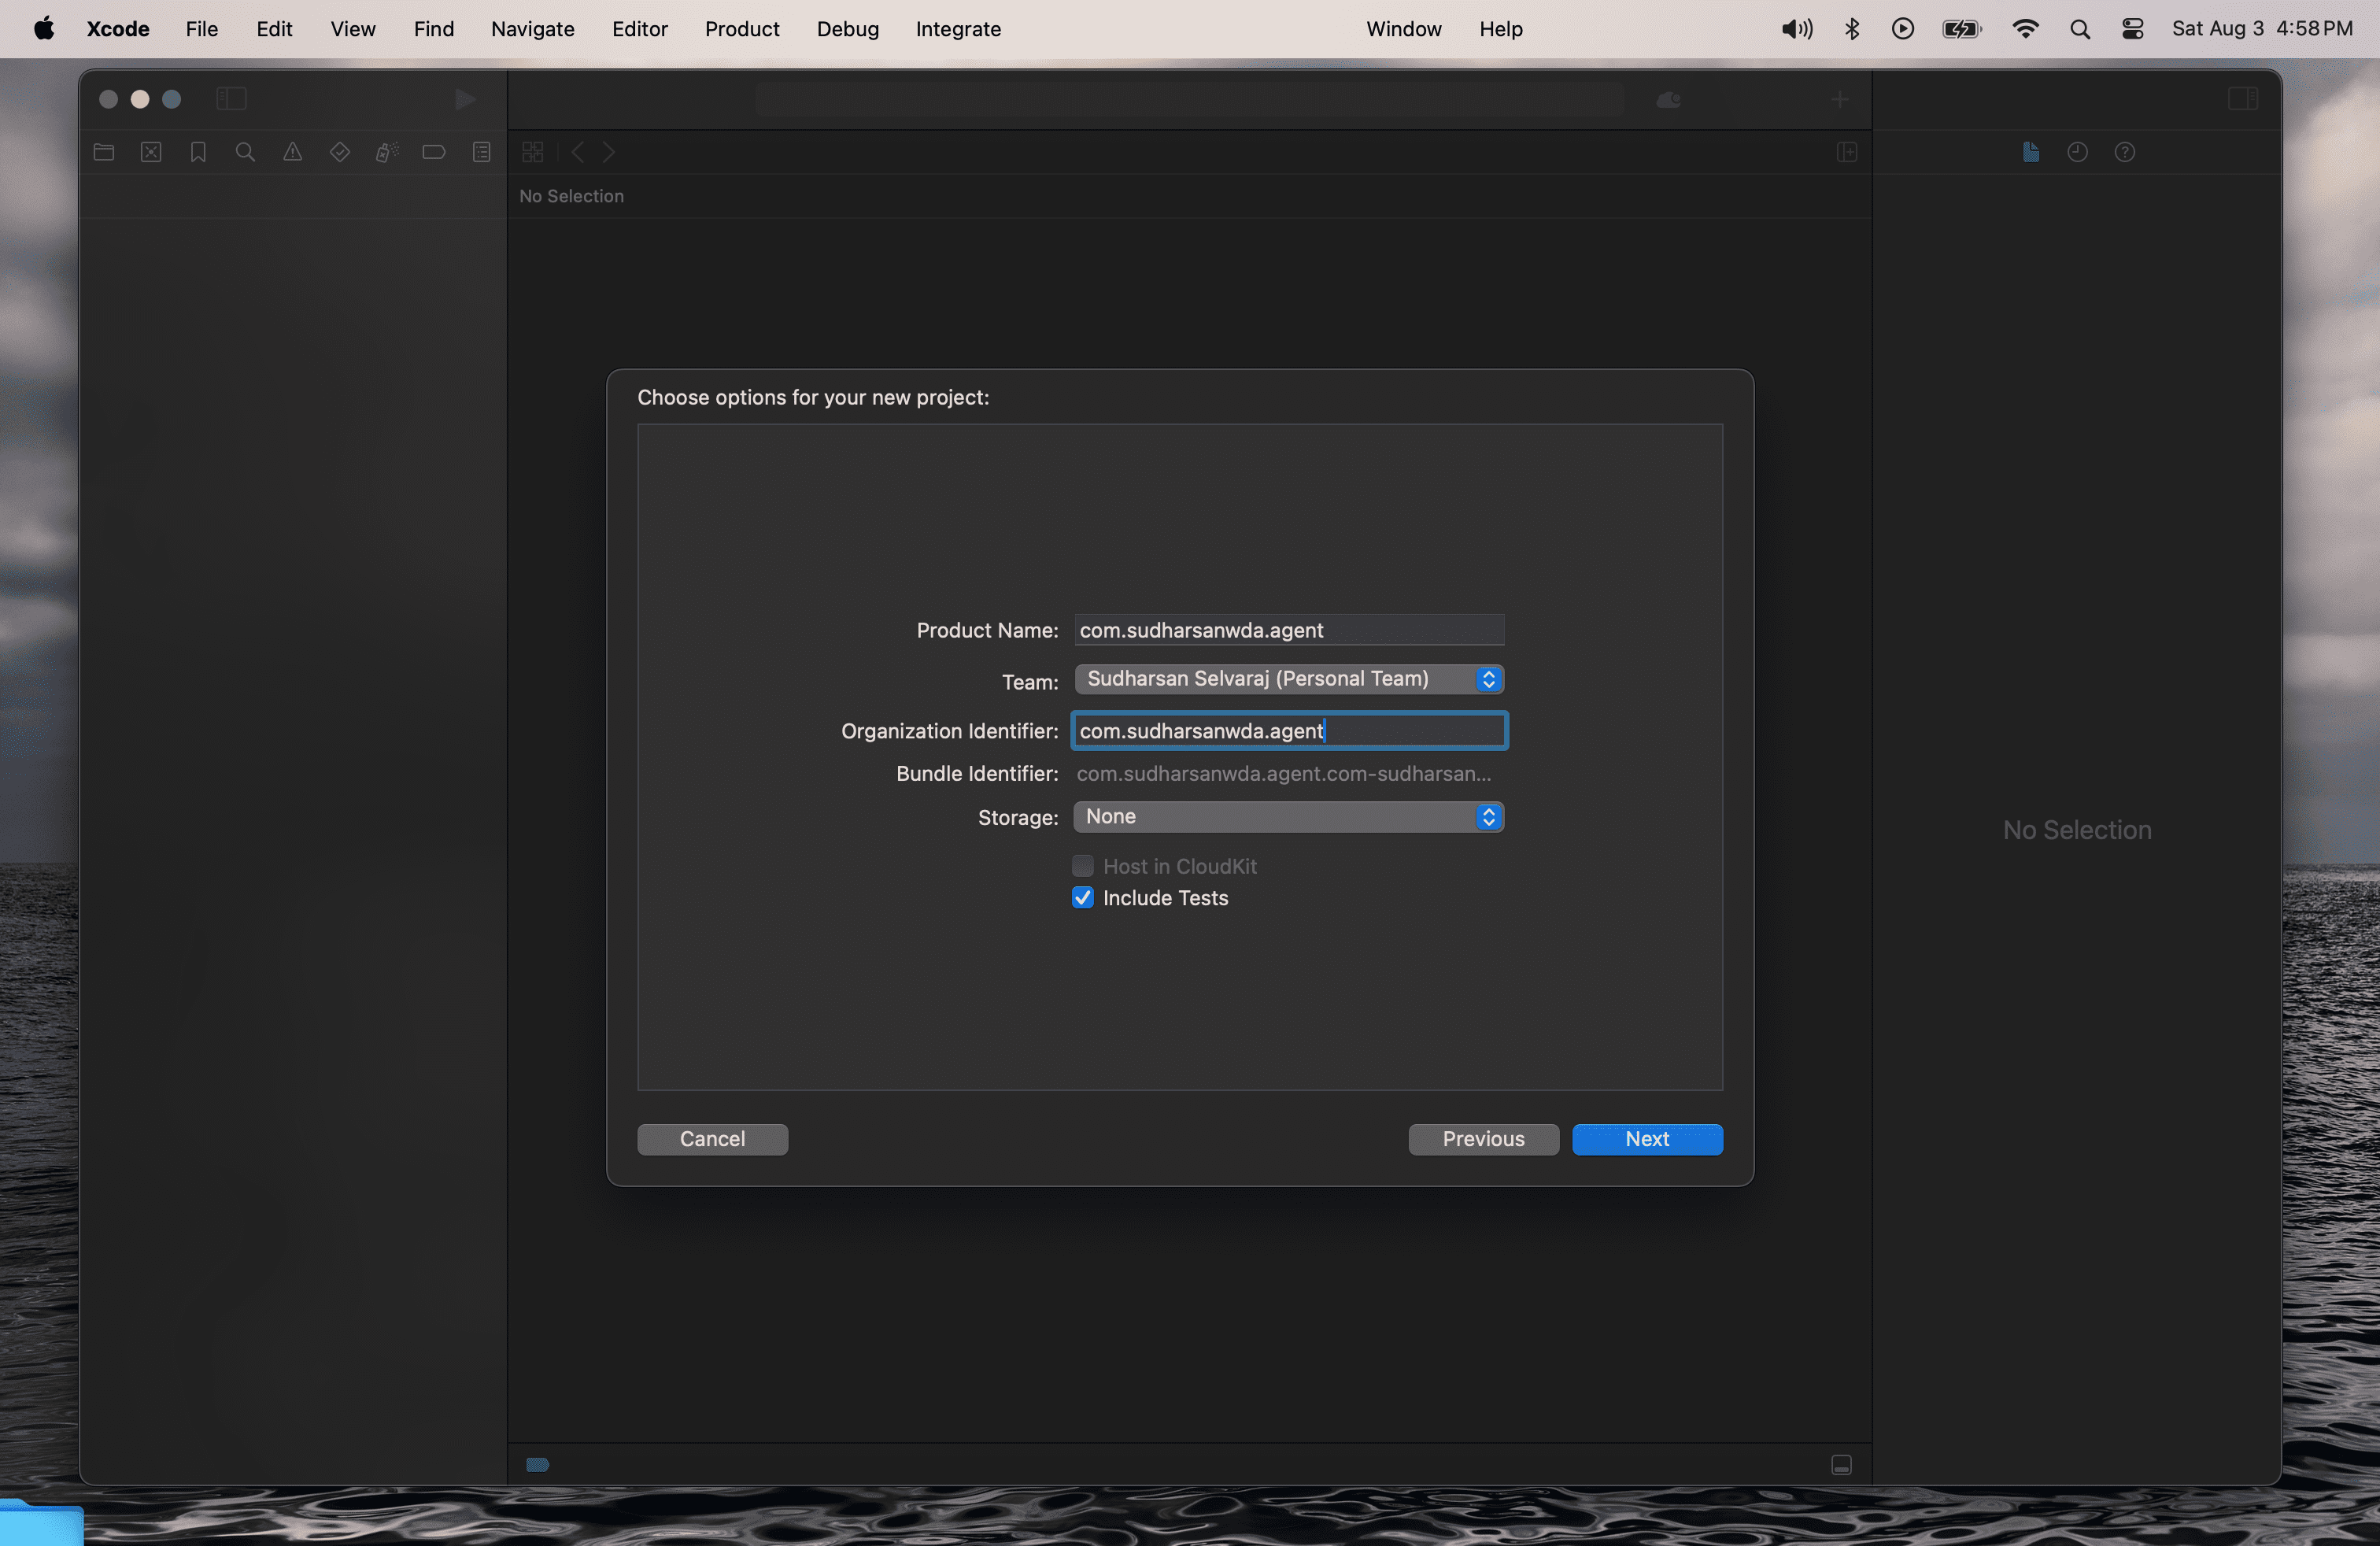
Enter a Project Name and a valid Organization Identifier. It can be any value, but ensure it is unique. Select the Apple account you logged in with from the Team dropdown. After entering the details, click Next and choose a folder to create the project.
Once the project is created, click on the Project Name in the left pane and select the Signing & Capabilities tab. You should see Xcode Managed Profile listed under Provisioning Profile.
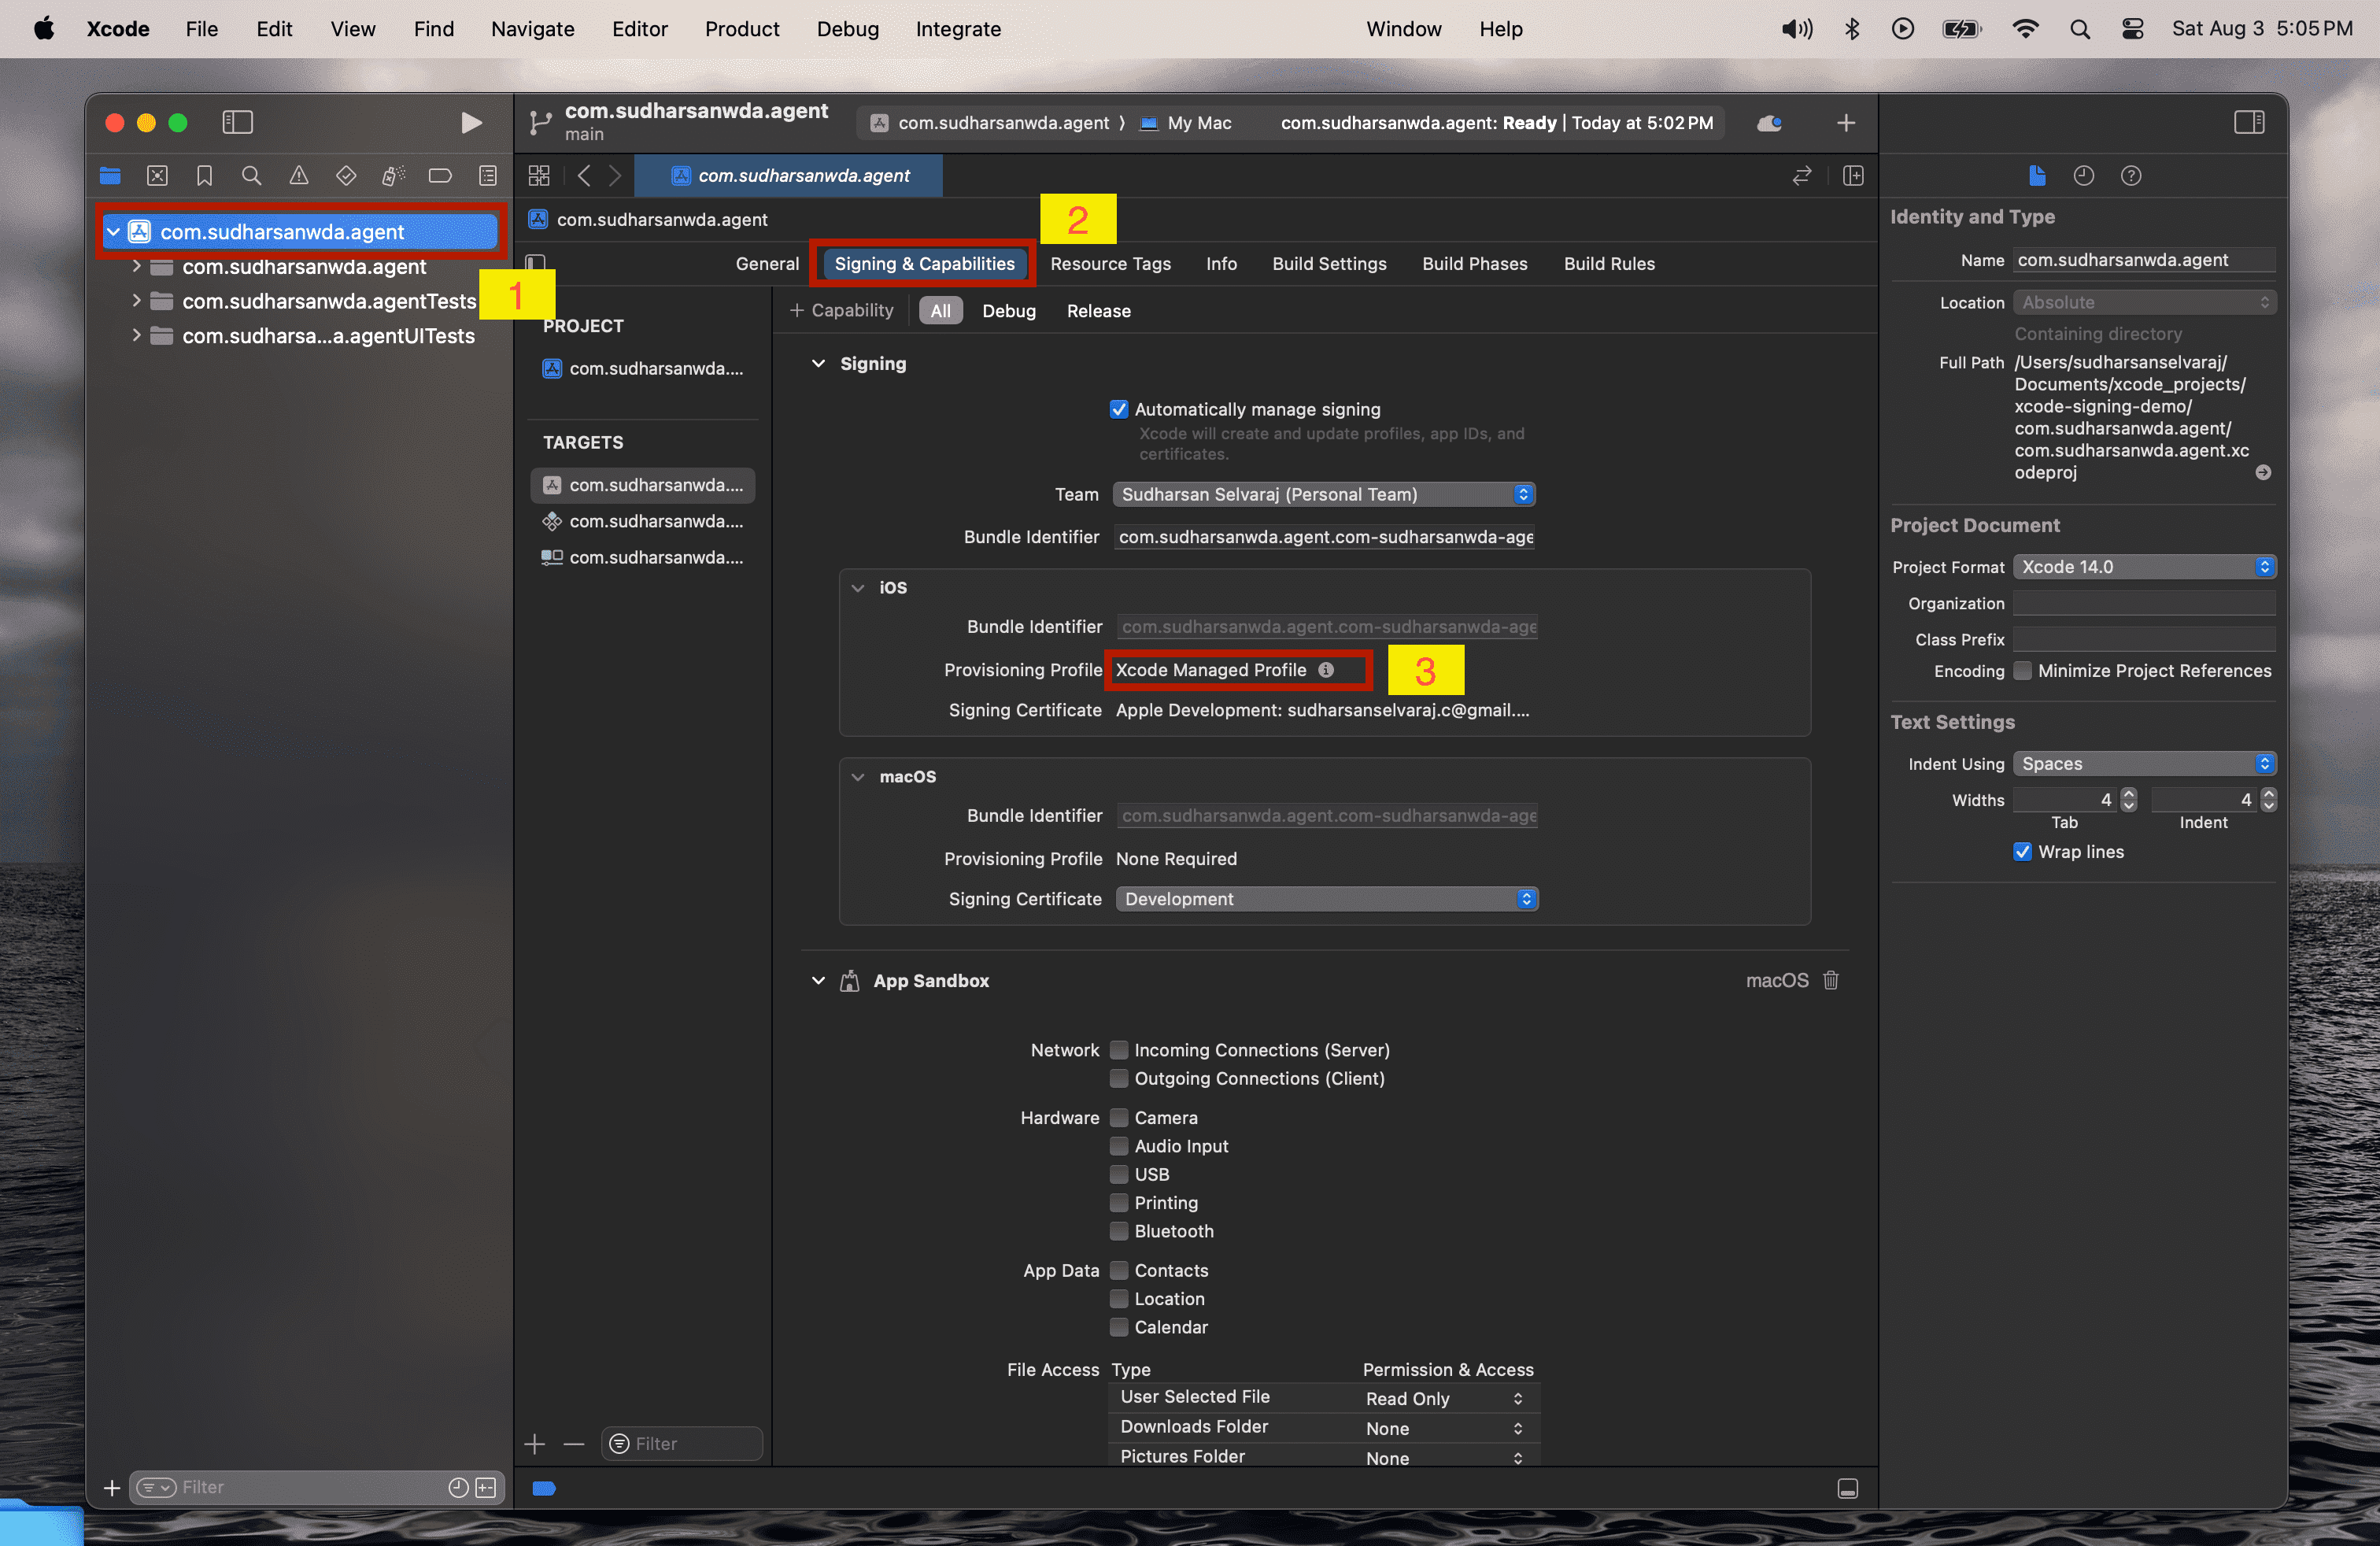
You can also check if the provisioning profile is created in the ~/Library/MobileDevice/Provisioning Profiles directory. Once the provisioning profile is present, you have successfully created it and can now use it to sign the WDA file.
Resigning WDA .ipa
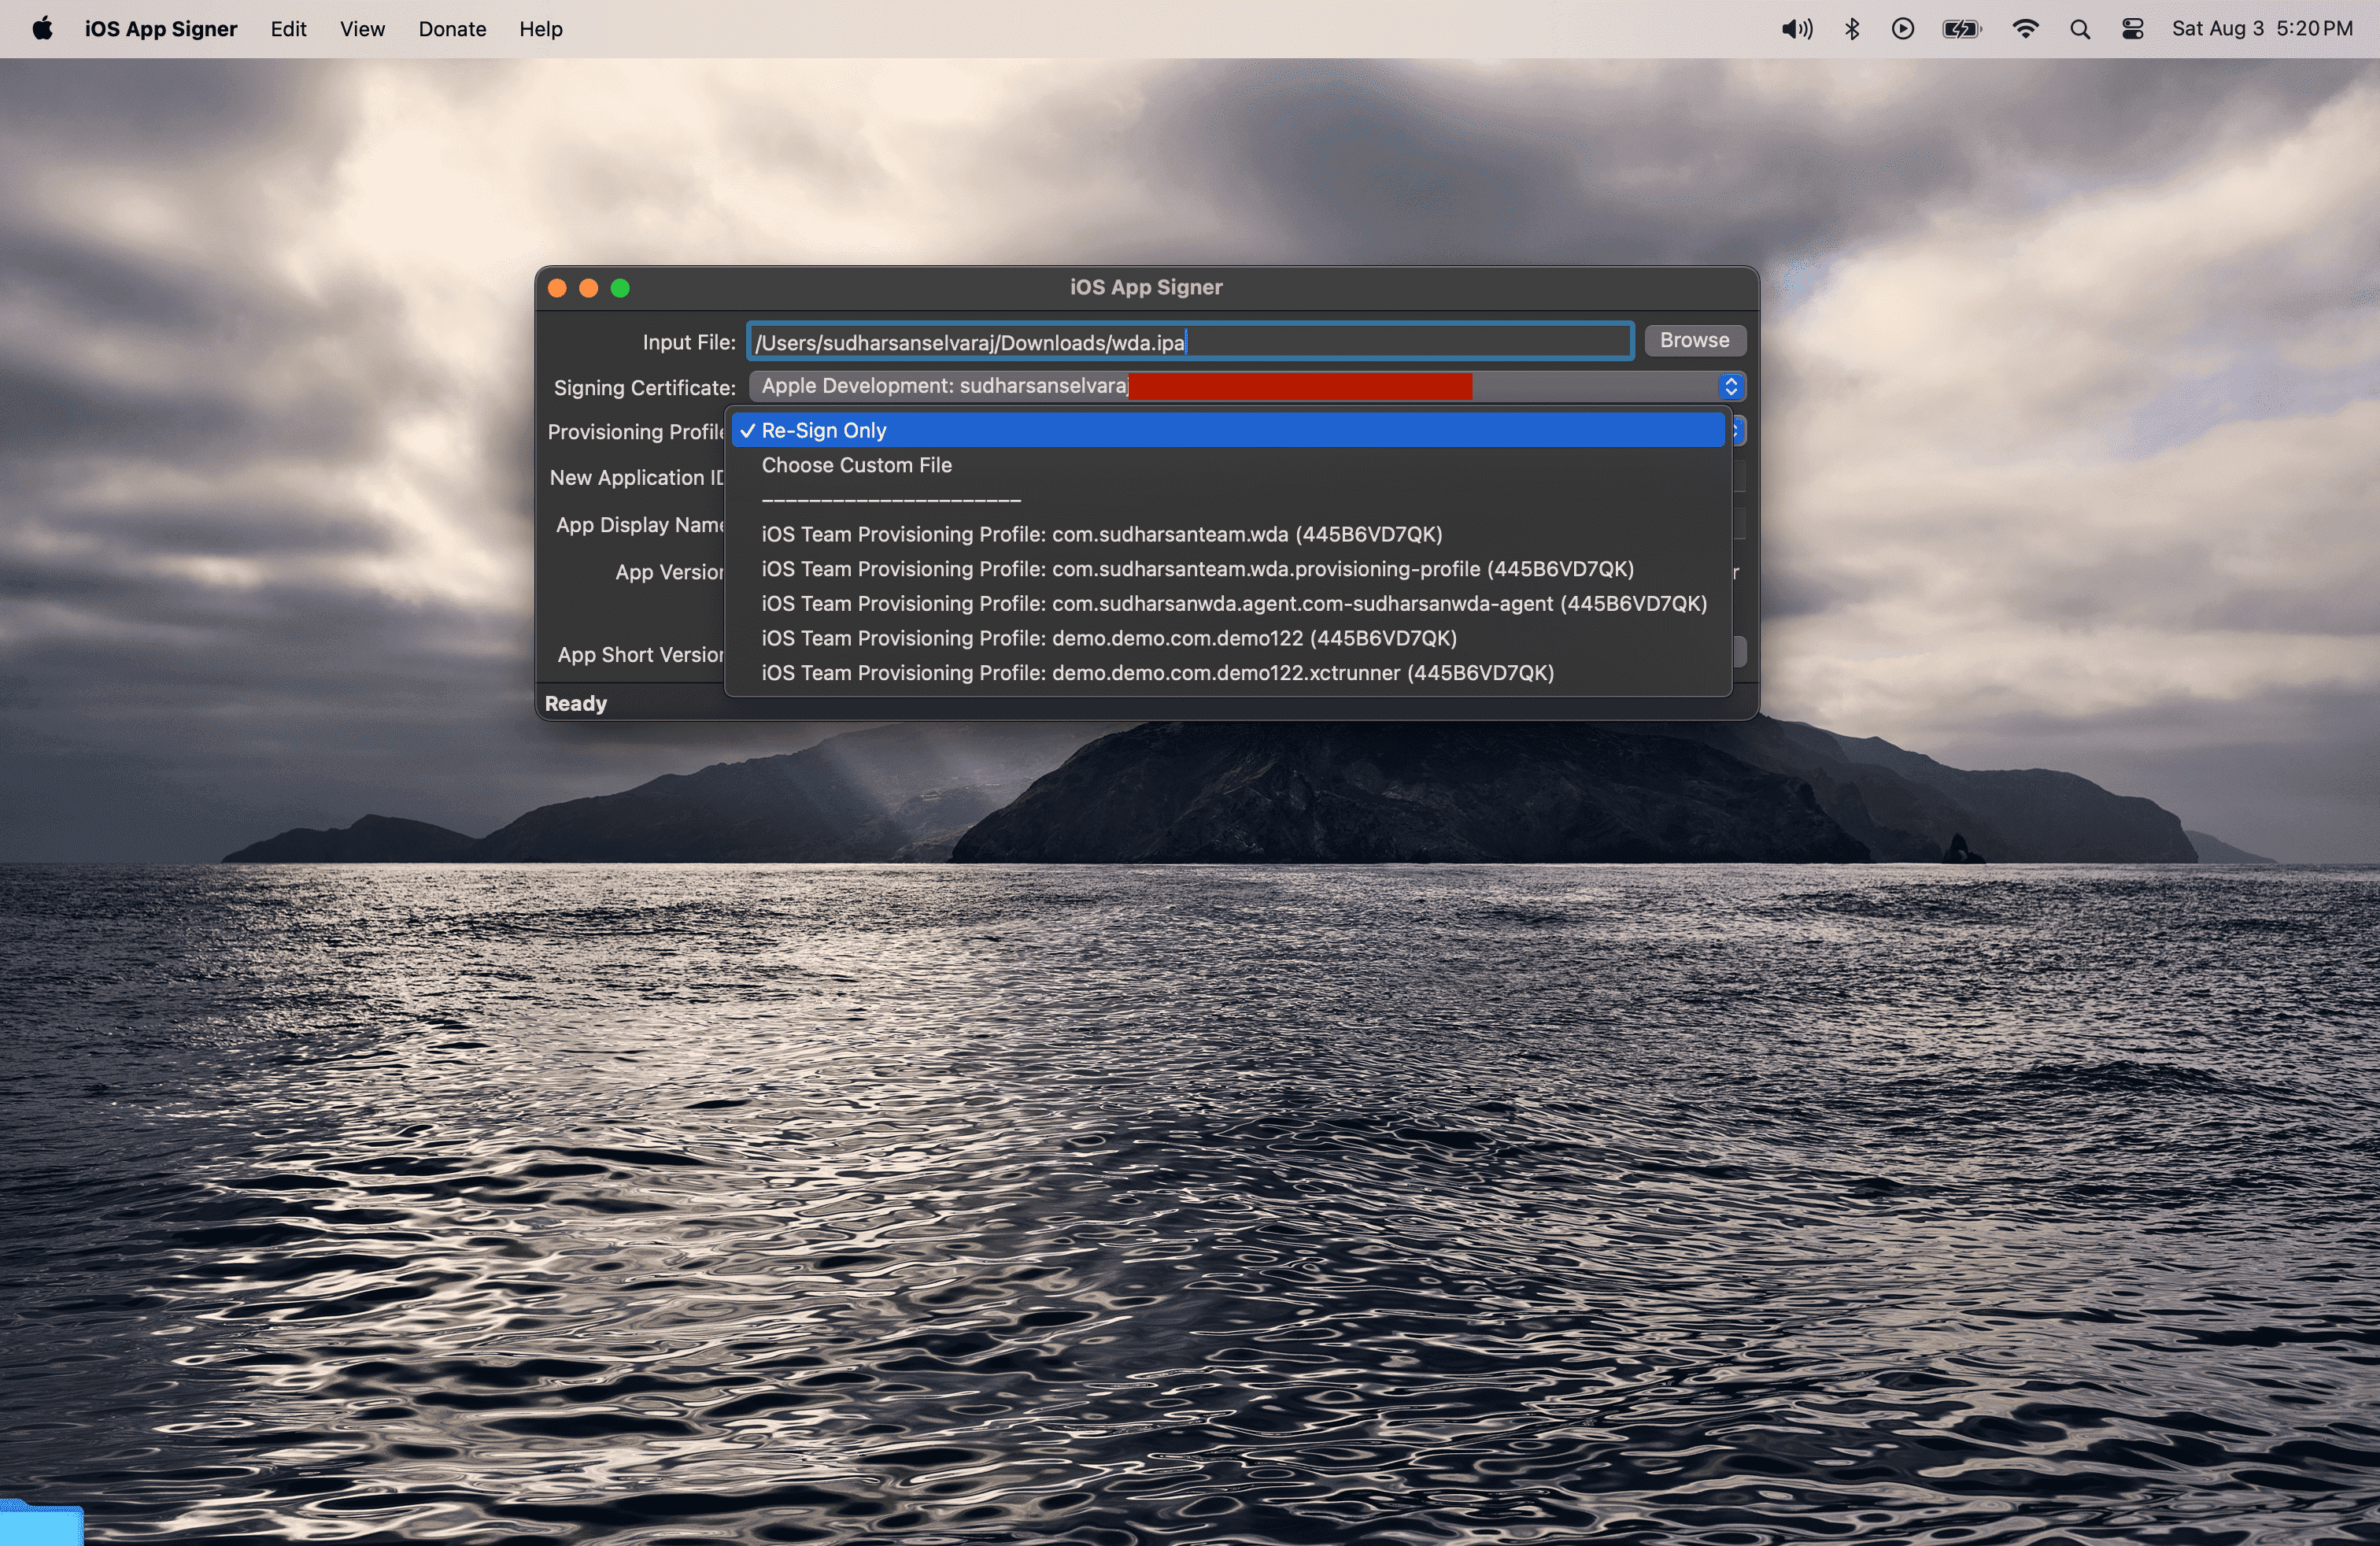
To re-sign the IPA, open the iOS Resigner app that you previously downloaded. Select the WDA IPA file that you downloaded as the input file. Choose your Apple account from the Signing Certificate dropdown. In the Provisioning Profile dropdown, select the provisioning profile you created earlier.
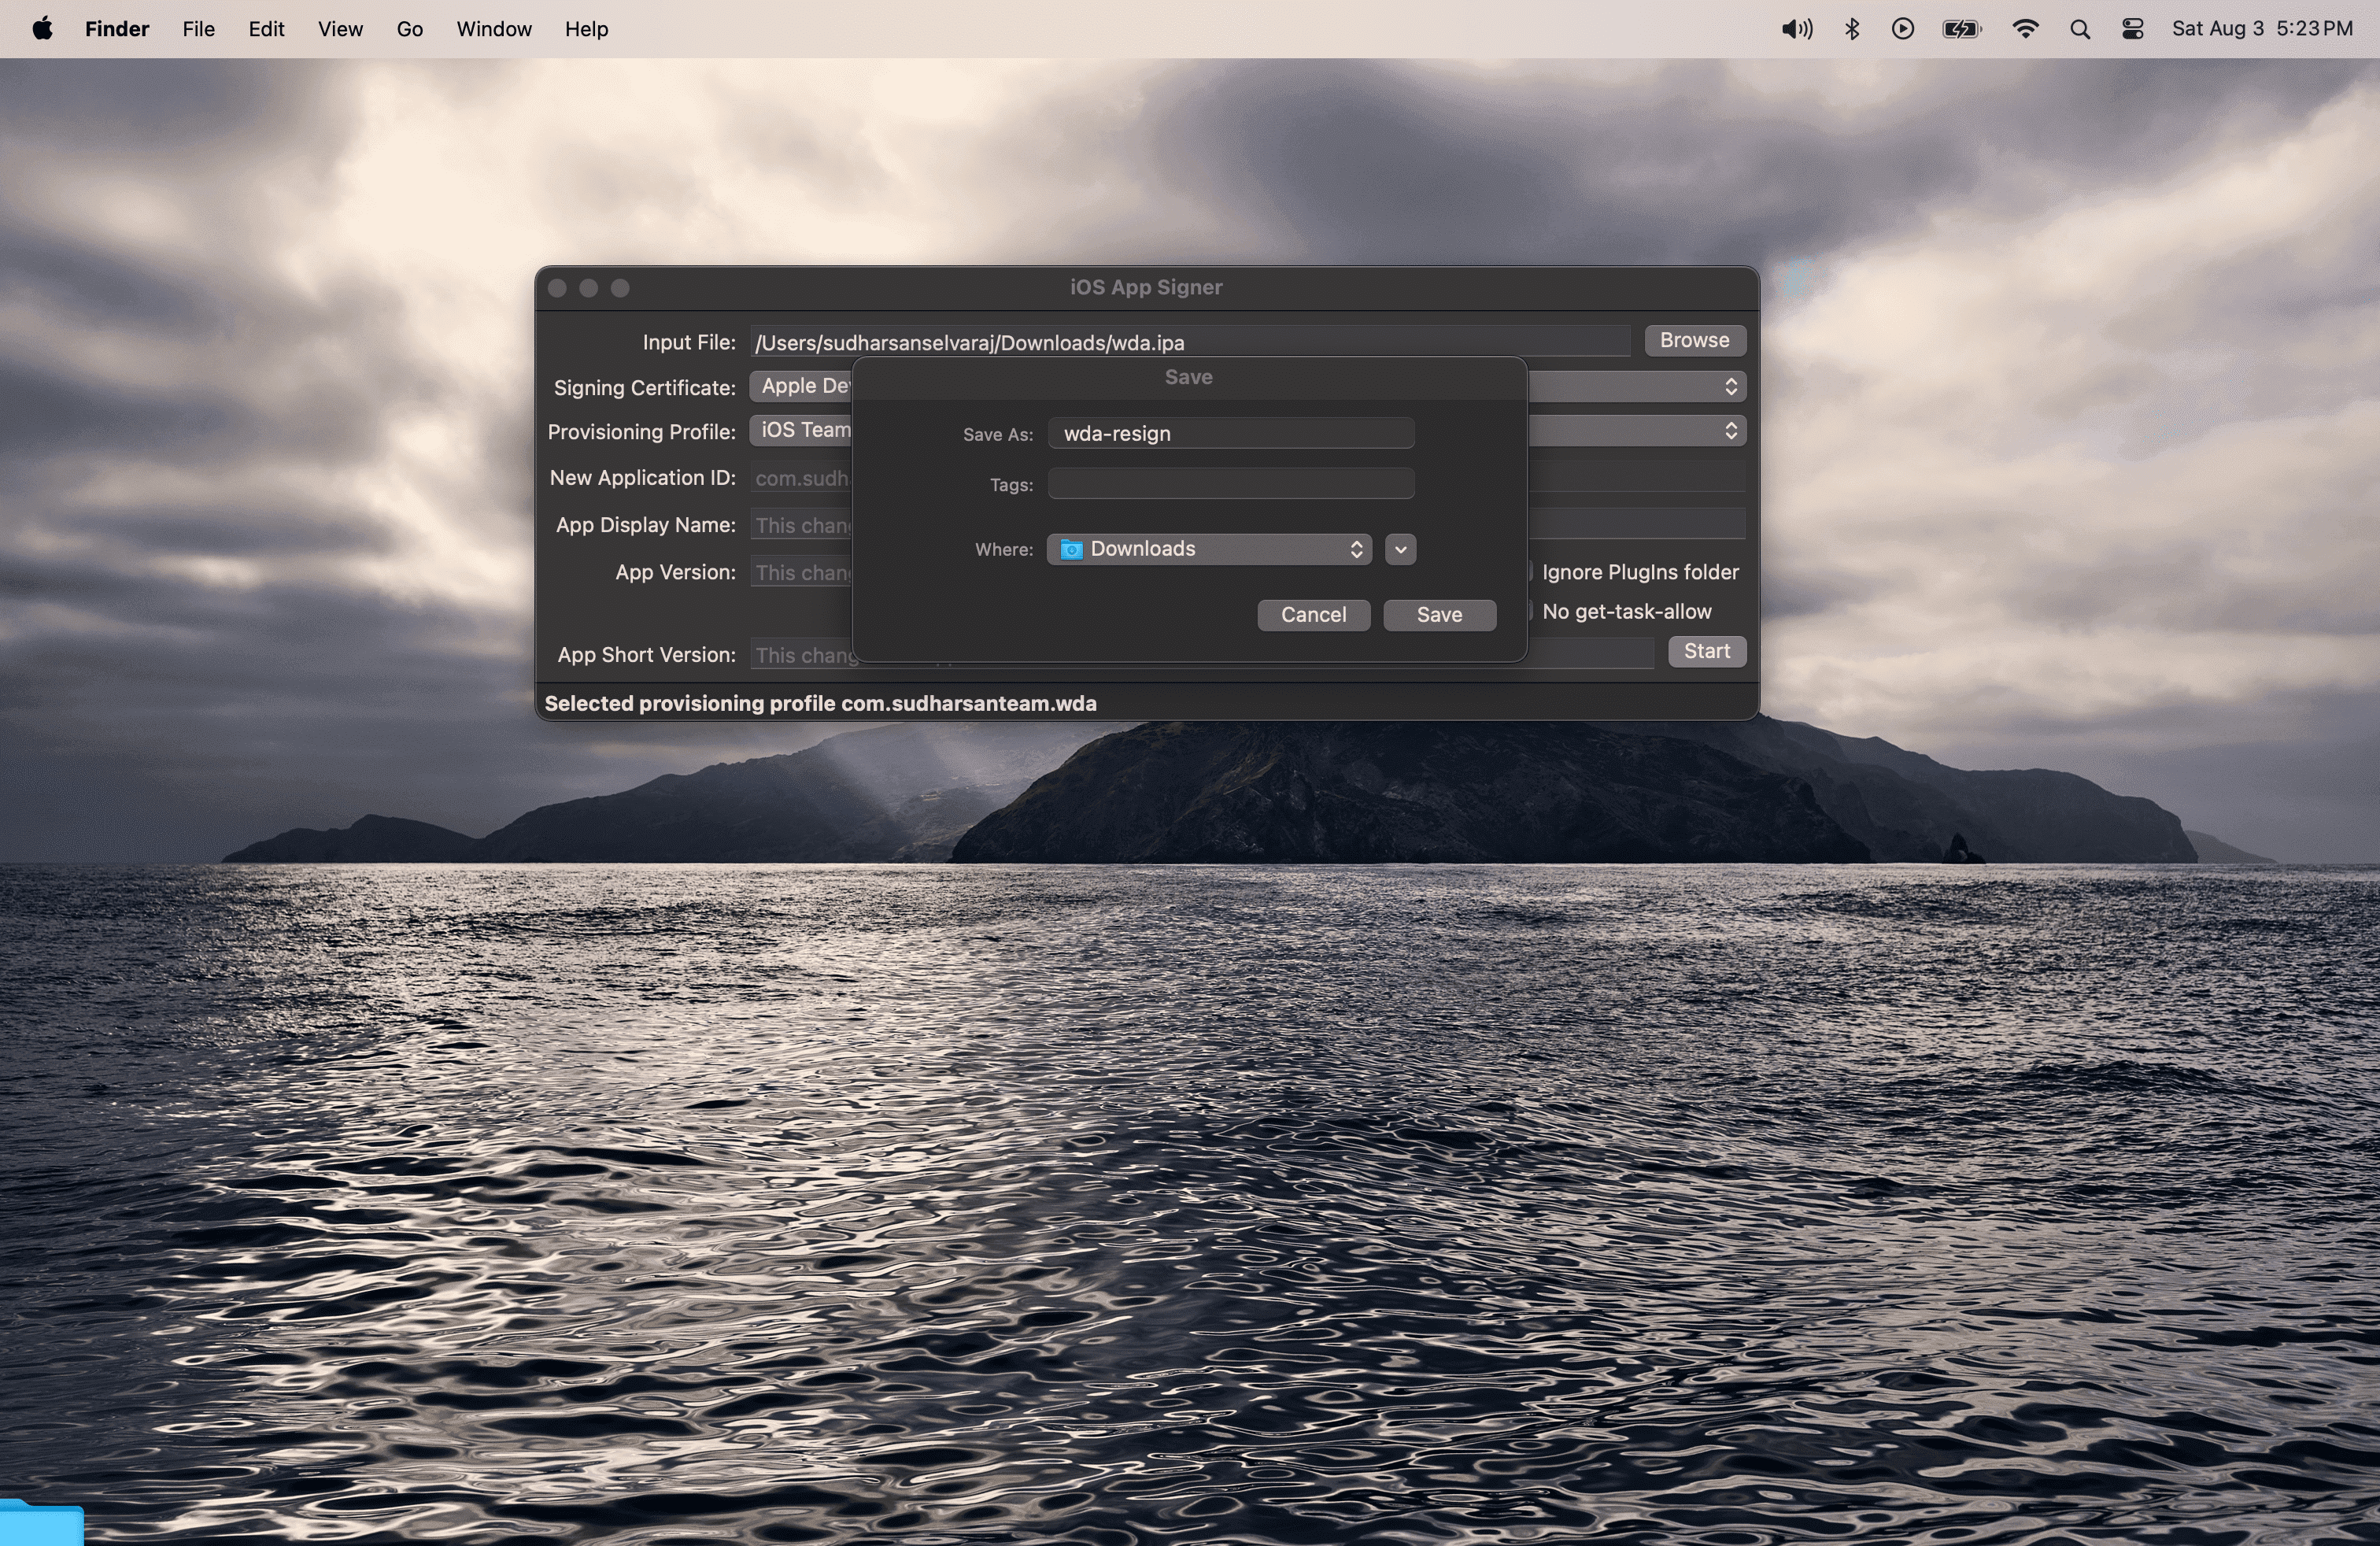
After entering all the details, click "Start" and select a folder to save the resigned IPA file.
For iOS devices: Ensure you save it with the name wda-resign.ipa and click "Save."
For tvOS devices: Ensure you save it with the name wda-resign_tvos.ipa and click "Save."
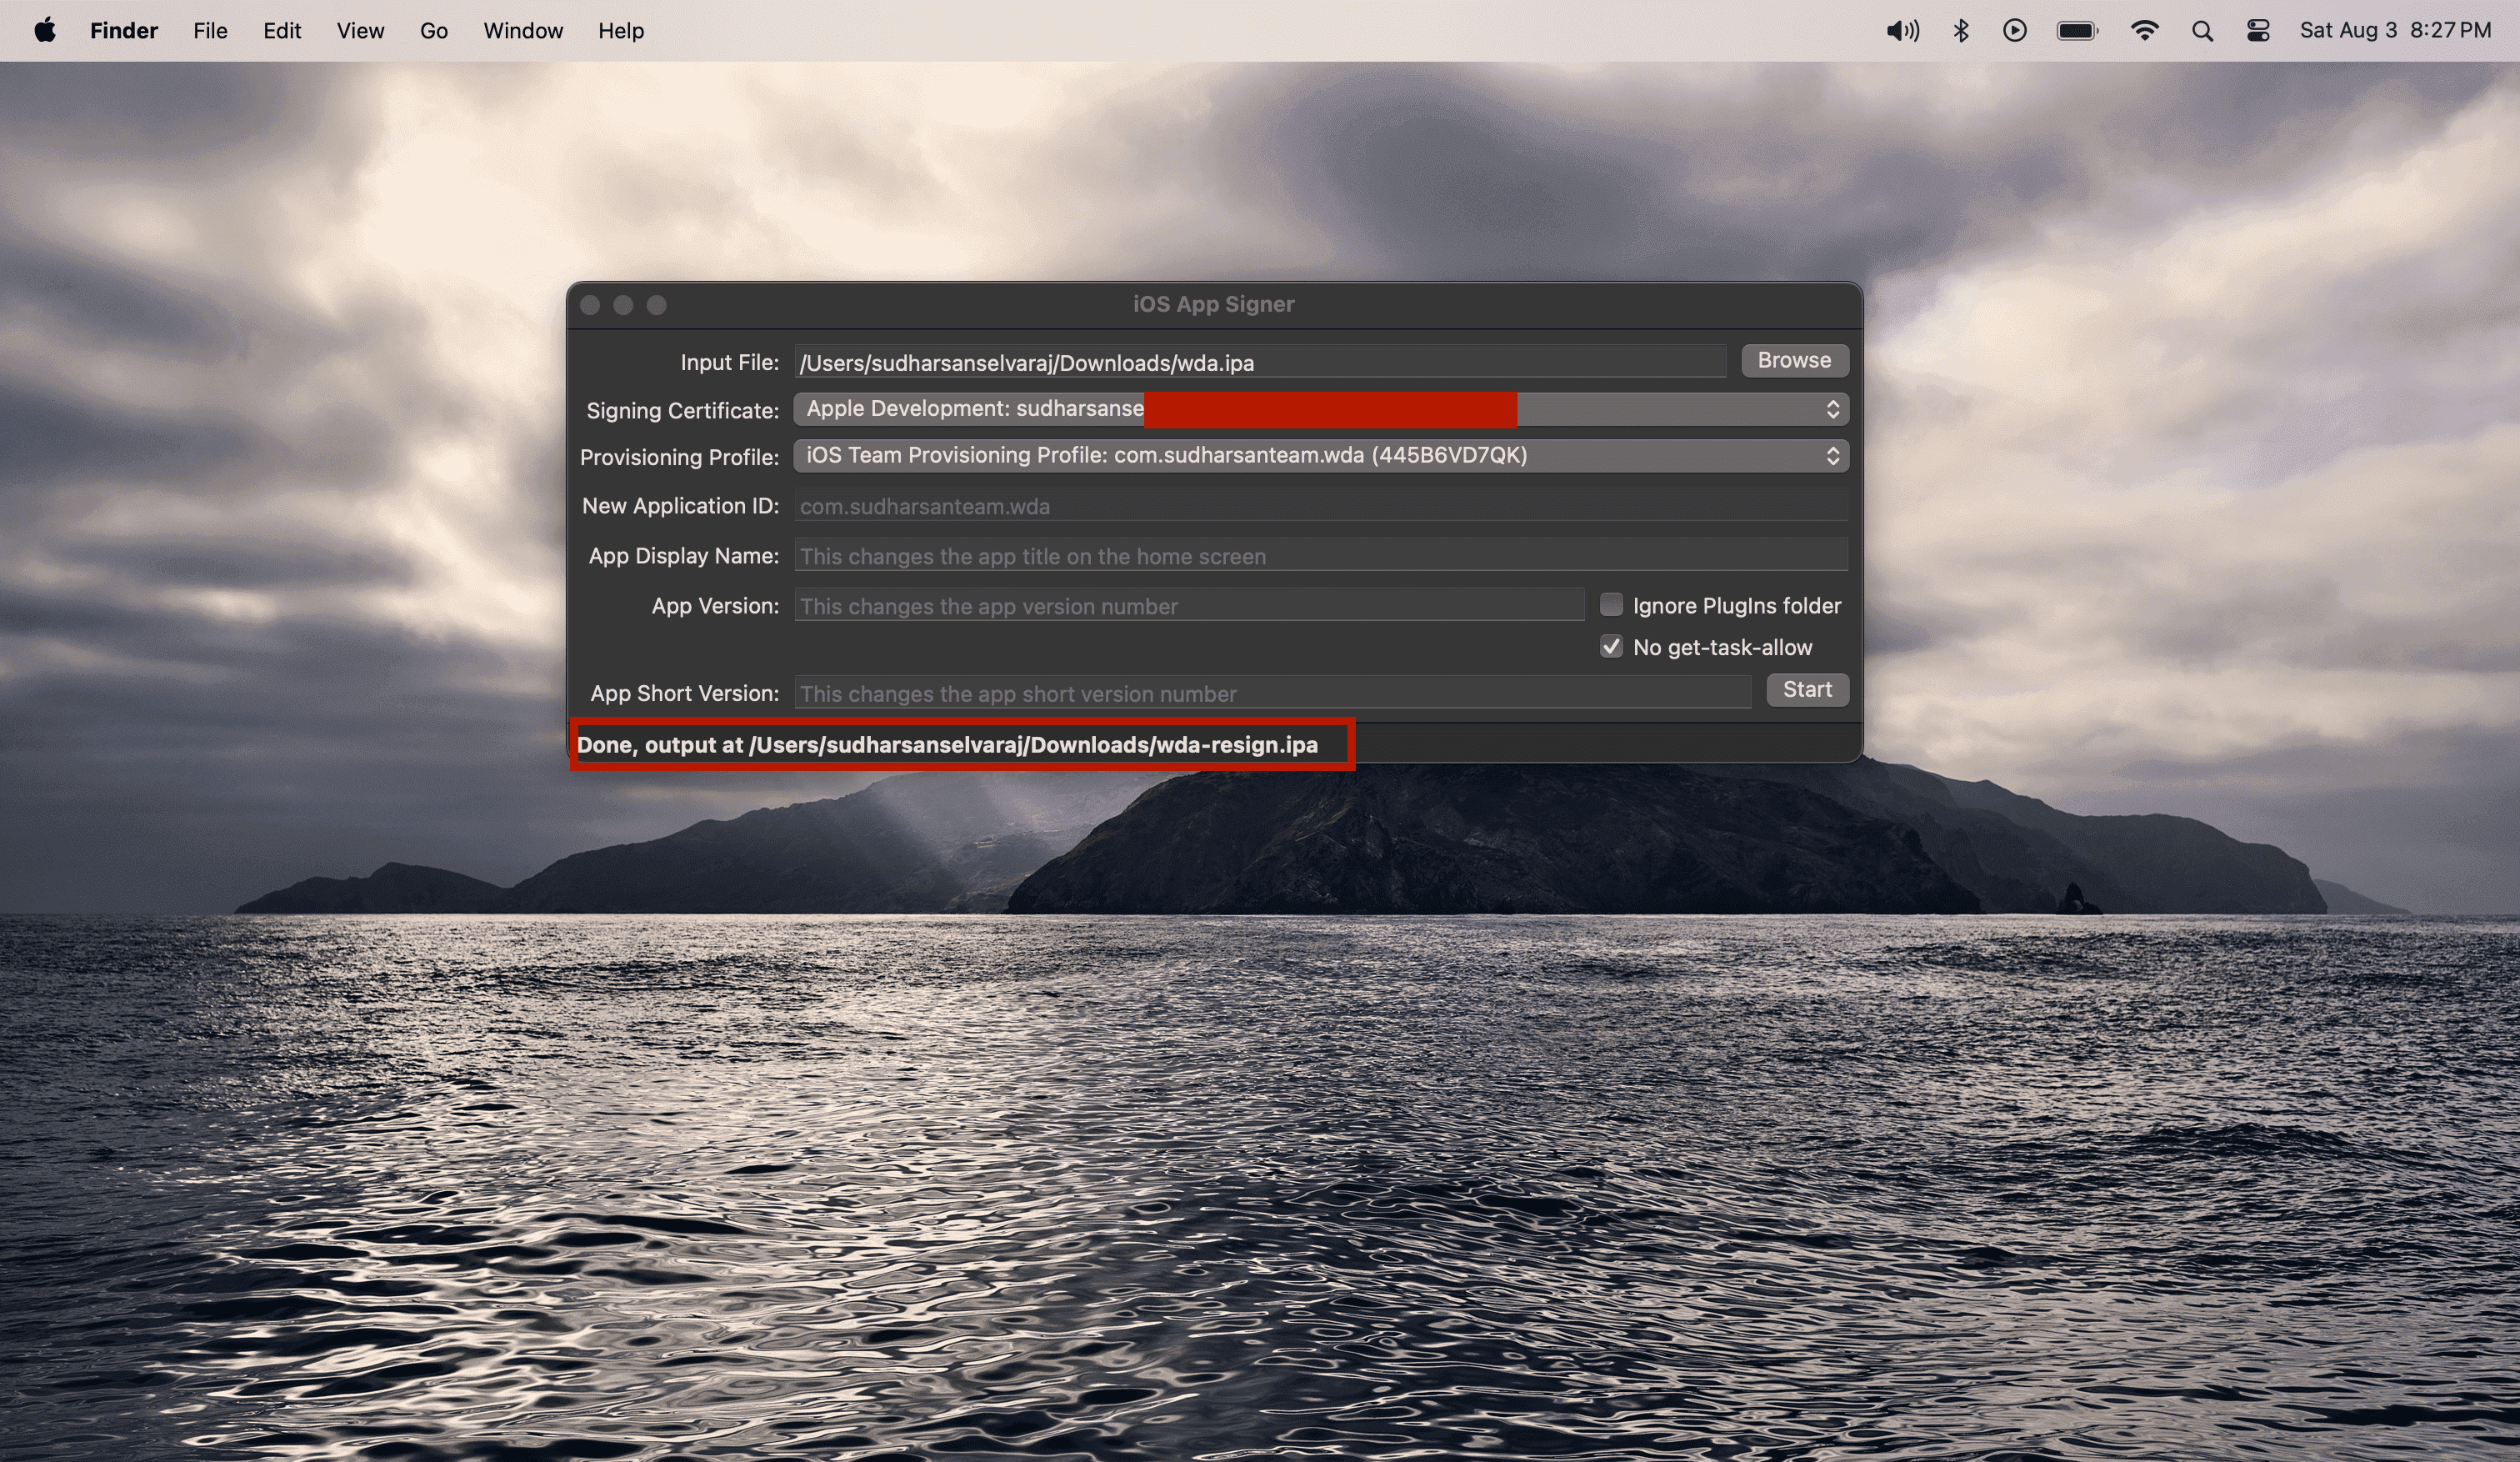
This will create a new file in the output directory.
Preparing WDA for tvOS Devices
For tvOS devices (Apple TV), you need to create a separate resigned IPA file. The process is similar to iOS, but with some important differences:
Key Requirements for tvOS WDA:
-
Bundle ID: tvOS apps require a different bundle identifier format. Make sure your provisioning profile includes tvOS support.
-
Provisioning Profile: Your provisioning profile must explicitly support tvOS devices. When creating the provisioning profile in Xcode, ensure you select tvOS as a supported platform.
-
File Naming: The resigned IPA must be named exactly
wda-resign_tvos.ipafor the device farm to recognize it as a tvOS WebDriverAgent.
Steps for tvOS WDA Preparation:
-
Follow the same provisioning profile creation steps as outlined above, but ensure tvOS is selected as a supported platform.
-
Use the same WDA.ipa file from the Appium Device Farm GitHub repository.
-
In the iOS Resigner app:
- Select the WDA.ipa file as input
- Choose your Apple account from the Signing Certificate dropdown
- Select the tvOS-compatible provisioning profile
-
Important: Save the output file as
wda-resign_tvos.ipa -
Upload the
wda-resign_tvos.ipafile to the device farm using the Apps section in the dashboard.
The device farm will automatically detect and use the appropriate WDA file based on the connected device type:
- iOS devices (iPhone, iPad) → wda-resign.ipa
- tvOS devices (Apple TV) → wda-resign_tvos.ipa
Uploading signed WDA in device farm
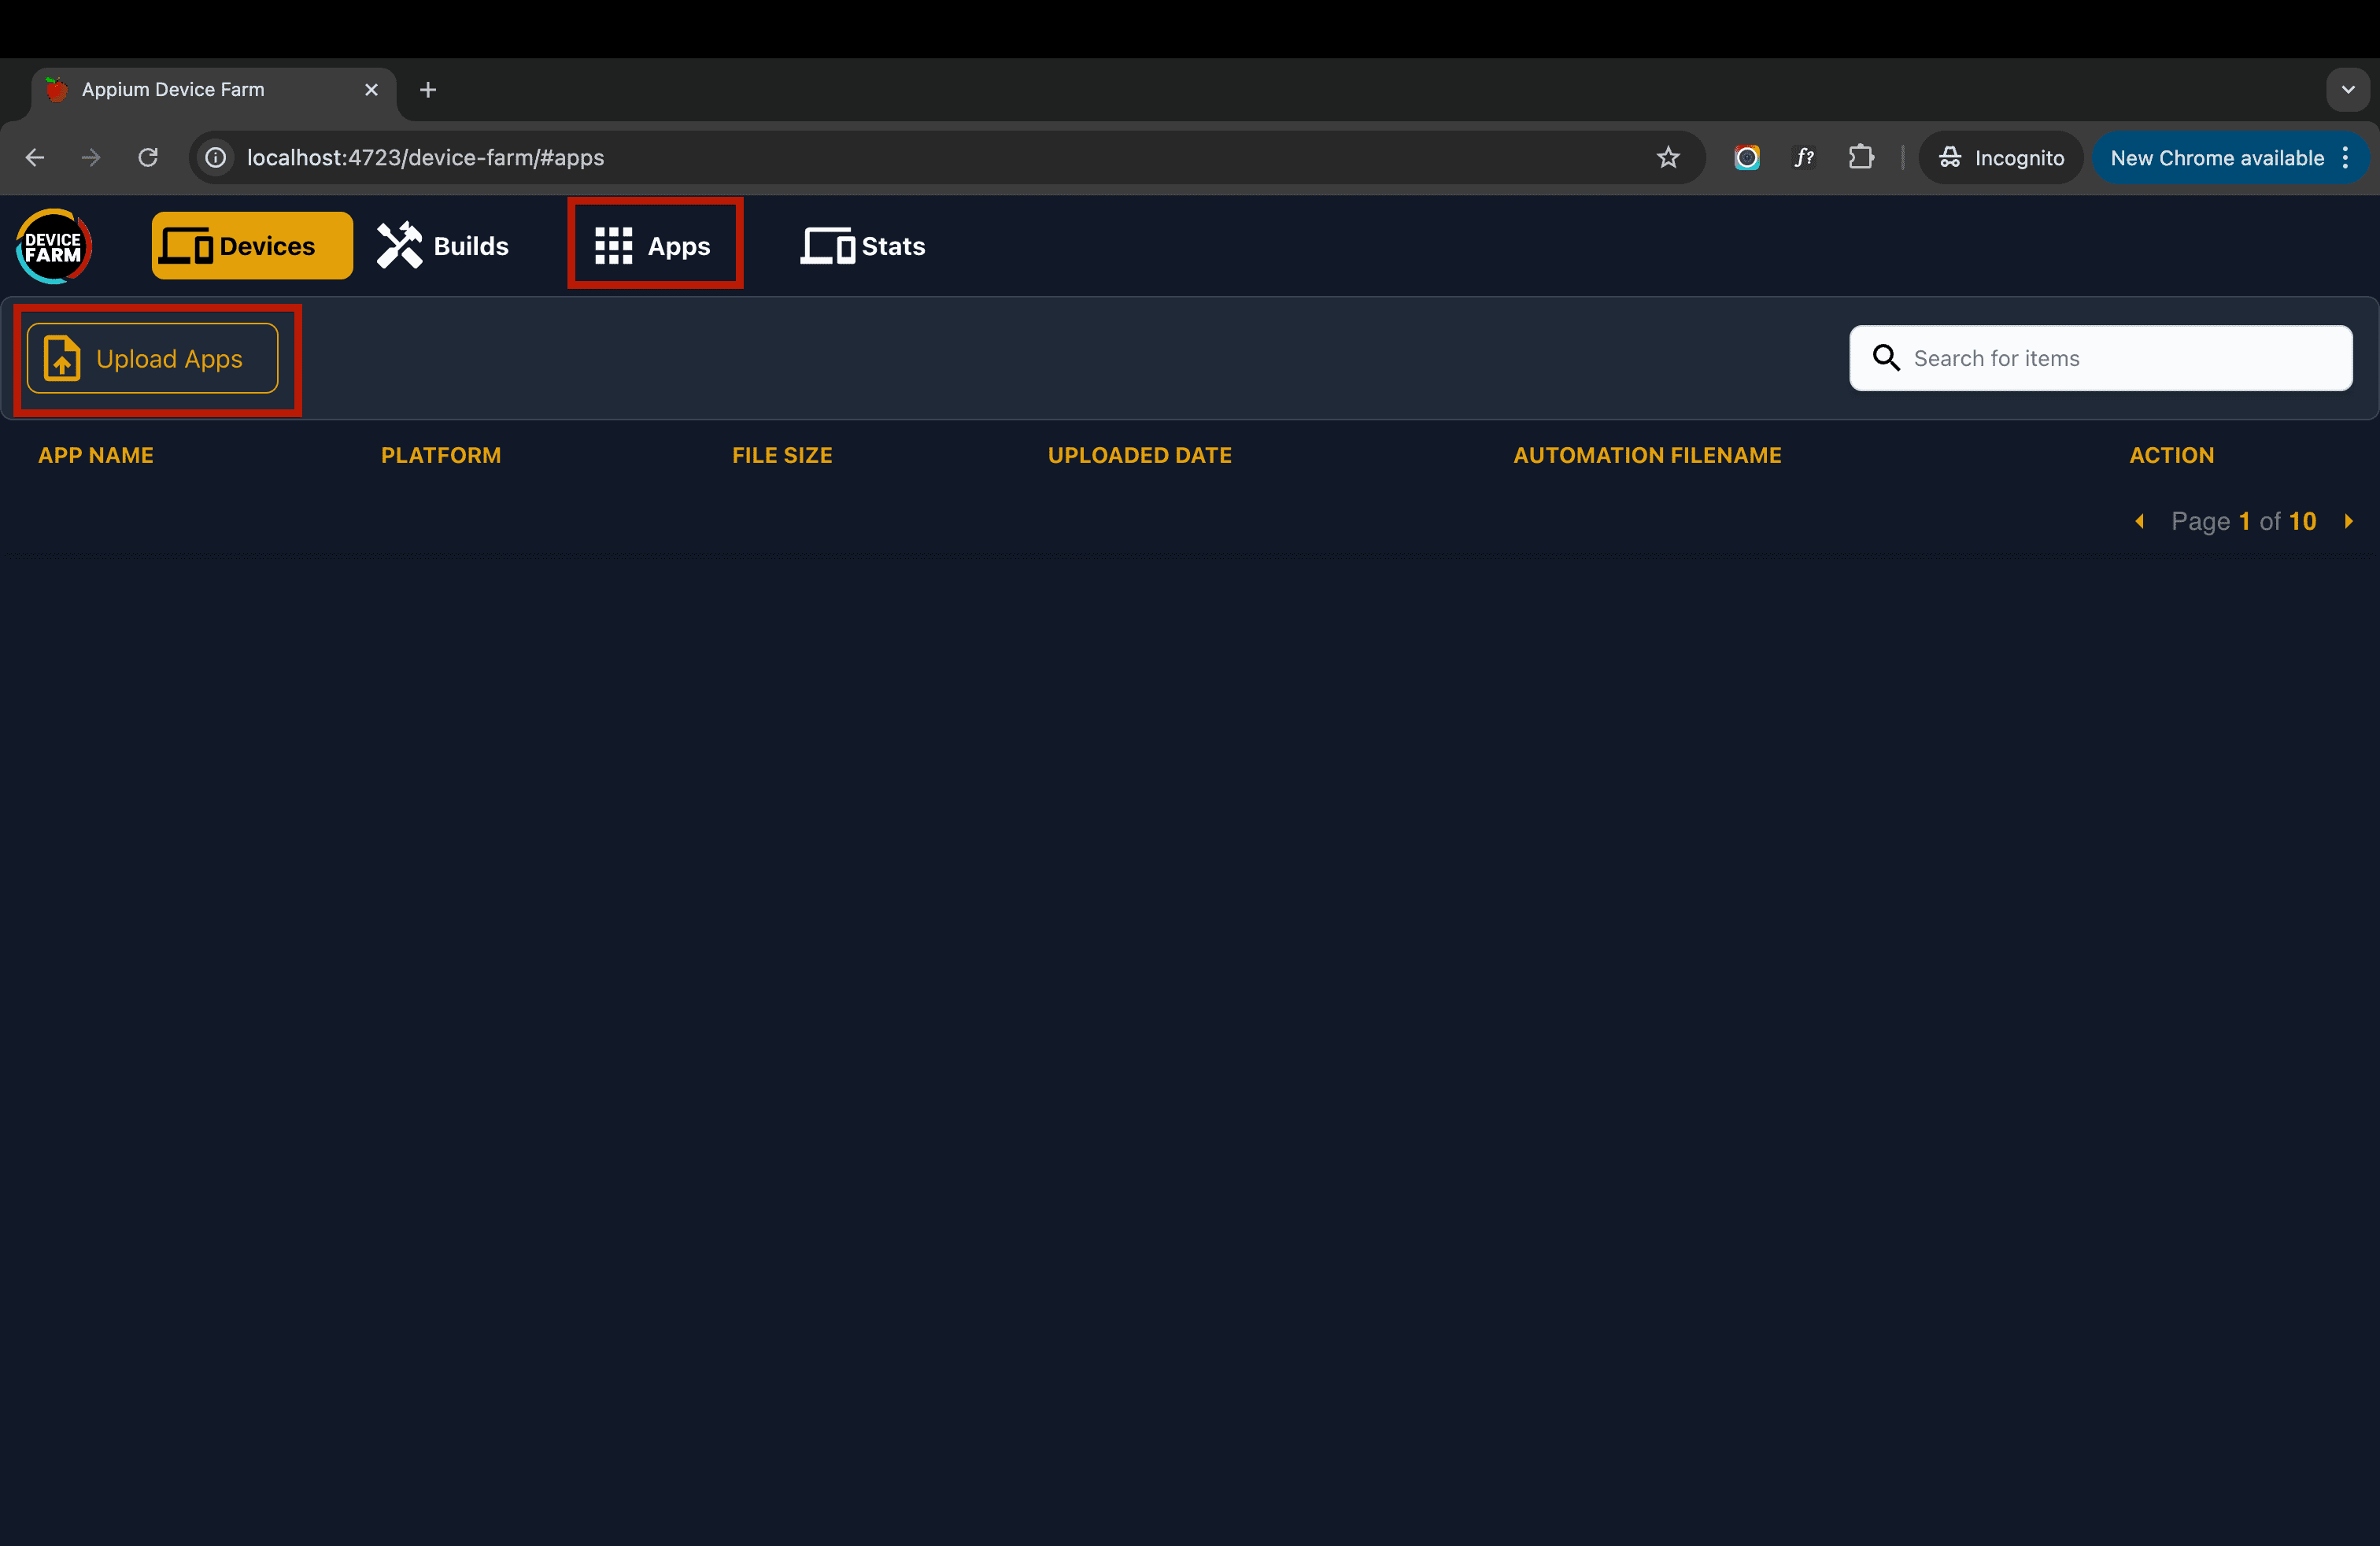
Once the WebDriver agent is successfully re-signed, it needs to be uploaded to the Appium device farm. Open the device farm using the server URL in your browser, switch to the Apps section, and click the Upload Apps button.
For iOS devices: Choose the resigned IPA named wda-resign.ipa and click "Upload."
For tvOS devices: Choose the resigned IPA named wda-resign_tvos.ipa and click "Upload."
The system will automatically select the appropriate WDA file based on the device platform:
- iOS devices (iPhone, iPad) → wda-resign.ipa
- tvOS devices (Apple TV) → wda-resign_tvos.ipa
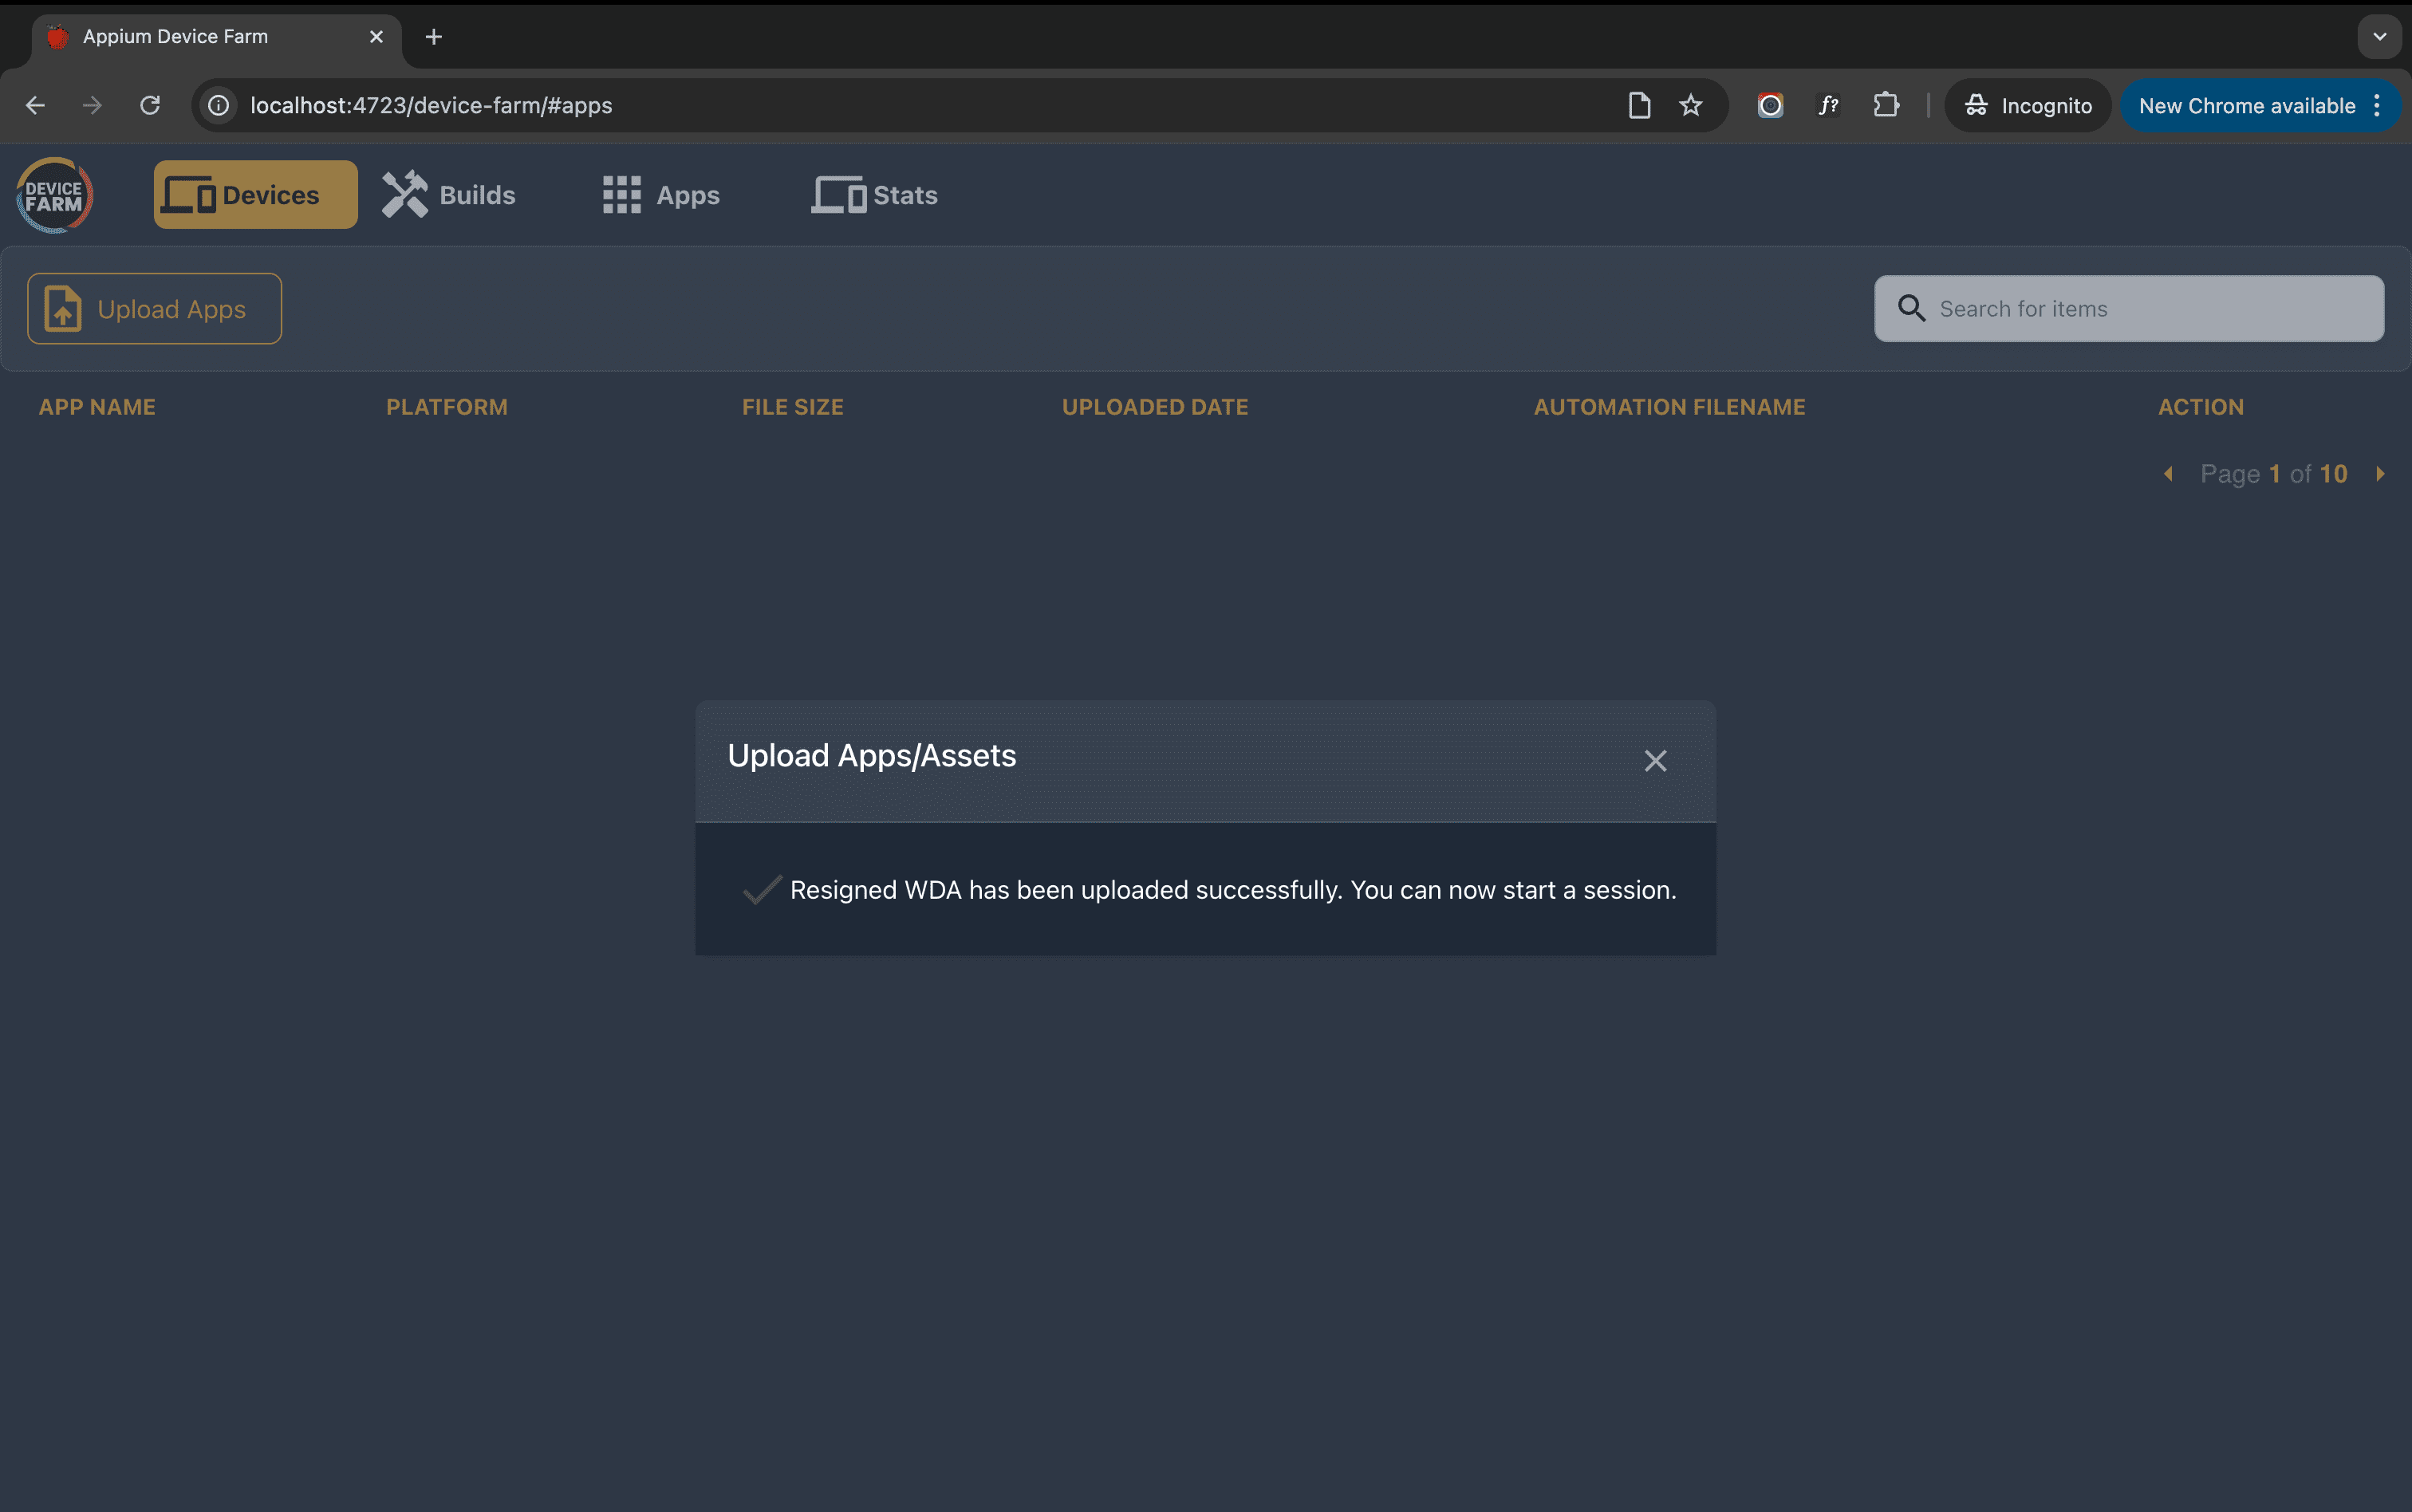
You should see a success popup indicating the file upload was successful. That's it! You are now ready to use real iOS and tvOS devices with the device farm.
How do I build WebDriverAgent from source?
The plugin has in build script that can help you build the WDA IPA to test on real devices.
Run the command below to build the WebDriverAgent from source.
appium plugin run device-farm prepare-wda
If you want to provide the custom path of WebDriverAgent project then set WDA_PROJECT_PATH or Provide a provision profile then run the command.
appium plugin run device-farm prepare-wda --wda-project-path=<path-to-WDA-project> --mobile-provisioning-file=<path-to-provision-profile>
You should have all the provision certificates installed on your machine before building the WebDriverAgent from source. For Xcode versions 15 or below, ensure they are located in:
~/Library/MobileDevice/Provisioning\ Profiles
For Xcode versions 16 and above, place them in:
~/Library/Developer/Xcode/UserData/Provisioning\ Profiles